
Over the years, you may have experienced the frustration of improperly threading your Singer 301, which can lead to poor stitching and machine malfunctions. In this guide, you will uncover the arcane secrets to mastering the threading process, ensuring that your sewing machine runs smoothly and efficiently. By following these expert tips, you will enhance your sewing experience, helping you create flawless projects with ease. Let’s examine the intricacies of your Singer 301 and transform your sewing journey!
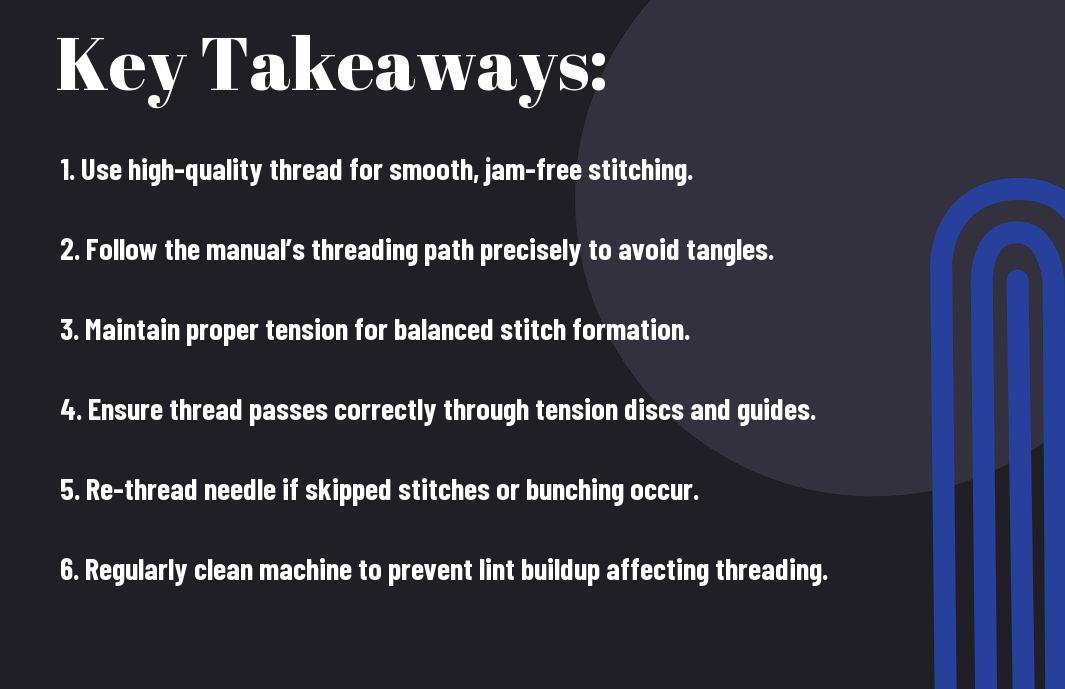
Key Takeaways:
- Familiarize yourself with the threading path by consulting the Singer 301 manual; it provides a step-by-step guide that can simplify the process.
- Use the appropriate tension settings and thread types to ensure smooth operation and prevent jams or breaks during sewing.
- Regularly check and clean the machine’s components, especially the needle and bobbin areas, to ensure optimal stitching performance.
The Anatomy of the Singer 301: Understanding Its Mechanisms
Exploring the intricate design of the Singer 301 unveils the engineering marvel behind its reliable operation. Each mechanism plays a distinct role in ensuring that your sewing experience is smooth, from the delicate tension discs to the sturdy bobbin case that houses your thread. By grasping the anatomy of your machine, you empower yourself to diagnose issues and streamline your threading process more effectively.
Key Components and Their Functions
The Singer 301 consists of several key components including the spool pin, thread tension assembly, and needle. The spool pin holds the thread spool, allowing it to unwind smoothly. The thread tension assembly regulates the amount of thread tension, vital for achieving even stitches. Lastly, the needle serves as the point of entry for the thread into the fabric, making its positioning pivotal for successful sewing.
The Role of Tension in Threading
Thread tension significantly impacts the overall performance of your Singer 301, affecting stitch quality and fabric feed. Appropriate tension settings help maintain the balance between the upper and lower threads, preventing issues like thread breakage or puckering. It can be adjusted based on the type of fabric and thread being used, ensuring a precise and consistent stitch.
By understanding the role of tension, you can troubleshoot various sewing problems more efficiently. For instance, if you notice uneven stitches or excess thread gathering, it may indicate that your upper tension is too tight or too loose. Many sewists recommend testing adjustments on scrap fabric to find the optimal settings without risking damage to your project. Additionally, regular calibration of the tension dials will keep your Singer 301 operating at its best, allowing you to focus on bringing your creative visions to life.
Common Threading Pitfalls: Avoiding Common Errors
Even seasoned sewers encounter common threading pitfalls when using the Singer 301. These errors can lead to frustrating sewing sessions and improper stitch formation. Issues such as skipping stitches, uneven tension, or thread breakage typically stem from missteps in the threading process. By identifying these mistakes early and adjusting your approach, you can ensure a smoother, more efficient sewing experience.
Identifying Missteps in Threading
To pinpoint missteps in your threading technique, perform a thorough visual inspection of your machine. Look for snagged threads, misaligned tension discs, or incorrect routing through the machine. Even a slight deviation in the path can cause significant issues, so ensure that each step in the threading sequence adheres strictly to your model’s manual. Regular checks for correct placement reduce the likelihood of problems down the line.
How Incorrect Tension Affects Stitch Quality
Incorrect tension can drastically affect the quality of your stitches. If the upper thread tension is too tight, stitches may form unevenly, leading to puckering or bunching on the fabric surface. Conversely, loose tension can cause the thread to loop or result in skipped stitches. Finding the *perfect balance* between upper and lower tension is imperative for crafting smooth and professional-looking seams.
The Singer 301 utilizes a sophisticated tension system, and each stitch type requires a specific tension setting. For example, using a lightweight fabric with high tension may cause the fabric to ripple, while heavy fabric can result in weak stitches. Consider using a tension gauge to monitor your adjustments closely; many experienced sewists find that a tension setting between 4 and 5 works well for standard fabrics. Testing on scrap fabric prior to final projects is a good practice for ensuring stitch integrity and consistency.
Threading Techniques: Mastering the Art
Mastering threading techniques for the Singer 301 can elevate your sewing skills significantly. By becoming proficient in the threading process, you’ll ensure smoother operation and more accurate stitching. This section probes into the effective methods you need to enhance your threading approach, allowing you to tackle your sewing projects with confidence.
Step-by-Step Guide to Perfect Threading
| Step 1: | Begin by unwinding the spool of thread and securing it in place on the spool pin. |
| Step 2: | Guide the thread through the upper tension mechanism, ensuring it sits snugly without being overly tight. |
| Step 3: | Thread the needle from front to back, ensuring the thread passes through the eye cleanly. |
| Step 4: | Pull a few inches of thread through the needle and allow it to hang down. |
Tools and Accessories That Enhance Threading
A few select tools can significantly improve your threading experience with the Singer 301. Items such as a needle threader, which assists in passing the thread through the tiny needle eye, can save time and alleviate frustration. Additionally, thread guides and specialty presser feet can help align your fabric and thread properly, reducing the risk of errors during the sewing process.
Investing in a quality needle threader not only streamlines the threading process but also prevents wear and tear on your eyes. The use of dedicated thread guides can minimize tangling, ensuring a seamless flow from the spool to the needle. Likewise, specialized presser feet designed for various stitches may help maintain consistent tension, improving the overall quality of your work. Incorporating these tools into your sewing routine fosters a smoother experience and allows you to focus on your creative projects with fewer interruptions.
Fine-Tuning Your Machine: Adjustments for Perfection
Achieving the perfect stitch on your Singer 301 involves meticulous adjustments tailored to your specific needs. From varying fabric types to differing thread weights, these fine-tuning steps can transform your sewing experience. Adjust as needed, and don’t hesitate to make incremental changes until your machine sings the right tune. Your sewing should be a seamless experience, marked by beautiful, consistent results.
Balancing Tension and Stitch Quality
To achieve a flawless stitch, you need to calibrate the tension of both the upper and lower threads. Begin by tightening or loosening the tension dials gradually while testing on scrap fabric. Aim for smooth, balanced stitches on both sides—the upper thread should lie flat, while the bobbin thread should not surface excessively. This delicate balance ensures both beauty and strength in your seams.
Routine Maintenance to Ensure Optimal Performance
Regular maintenance not only prolongs your Singer 301’s lifespan but also guarantees pristine performance. Clean the machine after every few projects by removing lint and debris from the feed dogs and throat plate. Oil the moving parts according to the manual’s guidelines, ensuring a smooth operation. Scheduling a thorough check-up at least once a year can help identify any wear and tear before they become problematic.
Incorporating a simple routine into your sewing practice can make all the difference. For example, establishing a habit of cleaning and oiling your Singer 301 maintains its efficiency and stitch quality. Every time you finish a major project, take a moment to inspect the needle, thread, and bobbin areas. A well-maintained machine not only produces better stitches but also enhances your overall sewing experience, leaving you focused on creativity rather than troubleshooting.
Real-Life Applications: Making the Most of Your Threading Skills
By applying your threading skills effectively, you’ll unlock the potential for more intricate and creative sewing projects. Whether you’re designing a quilt, sewing garments, or crafting home decor, understanding the threading process not only streamlines your workflow but also enhances your final product, allowing you to express your creativity with confidence.
Transforming Basic Projects into Works of Art
With a solid grip on the threading mechanics of your Singer 301, basic sewing projects can transform into masterpieces. By using carefully selected threads and techniques, you can add unique embellishments and fabrics that elevate your creations, turning simple pillowcases or tote bags into stunning, personalized items that reflect your style and skill.
How Mastering Threading Elevates Sewing Confidence
Your ability to thread your Singer 301 perfectly feeds directly into your overall sewing confidence. With each successful threading session, you gain familiarity and ease, enabling you to tackle new challenges head-on. Mastery in this area reduces frustration and promotes a sense of accomplishment, which in turn motivates you to explore more ambitious projects.
Gaining proficiency in threading opens doors to a world of creativity. As you become more skilled, that confidence spills over into your entire sewing practice; you’ll notice you’re more willing to experiment with new patterns and fabrics. You might even find yourself tackling complicated techniques like free-motion quilting or advanced garment construction, knowing that threading will no longer be a hindrance to your artistic expression. This shift not only enriches your sewing journey but also brings a fulfilling sense of growth and achievement.
Conclusion
The arcane secrets to perfectly threading a Singer 301 involve understanding your machine’s intricacies and following a systematic approach. By carefully guiding the thread through each designated path, adjusting tension settings, and ensuring that the needle is properly inserted, you can achieve seamless stitching every time. Invest time in mastering these techniques, and your sewing projects will undoubtedly reach new heights of quality and precision. Your confidence in handling the Singer 301 will grow, enhancing your overall sewing experience.
Q: What is the first step in threading a Singer 301 sewing machine?
A: The initial step in threading a Singer 301 is to ensure the sewing machine is turned off and that the presser foot is raised. This allows the thread to enter the tension discs freely. Start by placing your spool of thread on the spool pin at the top of the machine and guide the thread through the tension mechanism, which can typically be found on the top right side of the machine. Follow the numbered threading path indicated on the machine for accuracy.
Q: How do I thread the bobbin and ensure it is correctly placed in the Singer 301?
A: To thread the bobbin, first remove the bobbin case from the machine. Place the spool of thread on the spool pin and wind the thread around the bobbin as directed. Then, insert the bobbin into the bobbin case, ensuring the thread unwinds in the correct direction (usually counter-clockwise). Once in place, reattach the bobbin case to the machine and pull the thread through the slot until it reaches the tension spring. This ensures proper thread tension when sewing.
Q: What are some common threading mistakes to avoid while setting up the Singer 301?
A: Some common mistakes include not raising the presser foot before threading, which can lead to incorrect tension settings. Additionally, threading the machine out of order or missing the tension discs can cause issues with stitch quality. It is also important to ensure that the bobbin is inserted correctly, as an improperly positioned bobbin can lead to jams or skipped stitches. Following the threading diagrams on the machine can help prevent these mistakes.