
With the right threading techniques, you can truly unlock the potential of your Singer 301 sewing machine, transforming your projects from mundane to magnificent. Ensuring that your machine is properly threaded not only enhances the quality of your stitches but also helps to prevent frustrating thread jams or inconsistent tension. In this post, you will discover step-by-step guidance that will empower you to utilize your Singer 301 more effectively, ultimately improving your sewing experience and project outcomes.
Key Takeaways:
- Proper threading techniques for the Singer 301 can significantly improve stitch quality and reduce issues like thread bunching or breaking.
- Understanding the threading diagram and following it step-by-step ensures that the machine operates smoothly and efficiently during your sewing projects.
- Regular maintenance, including cleaning and oiling your machine, in combination with correct threading, helps maintain optimal performance over time.
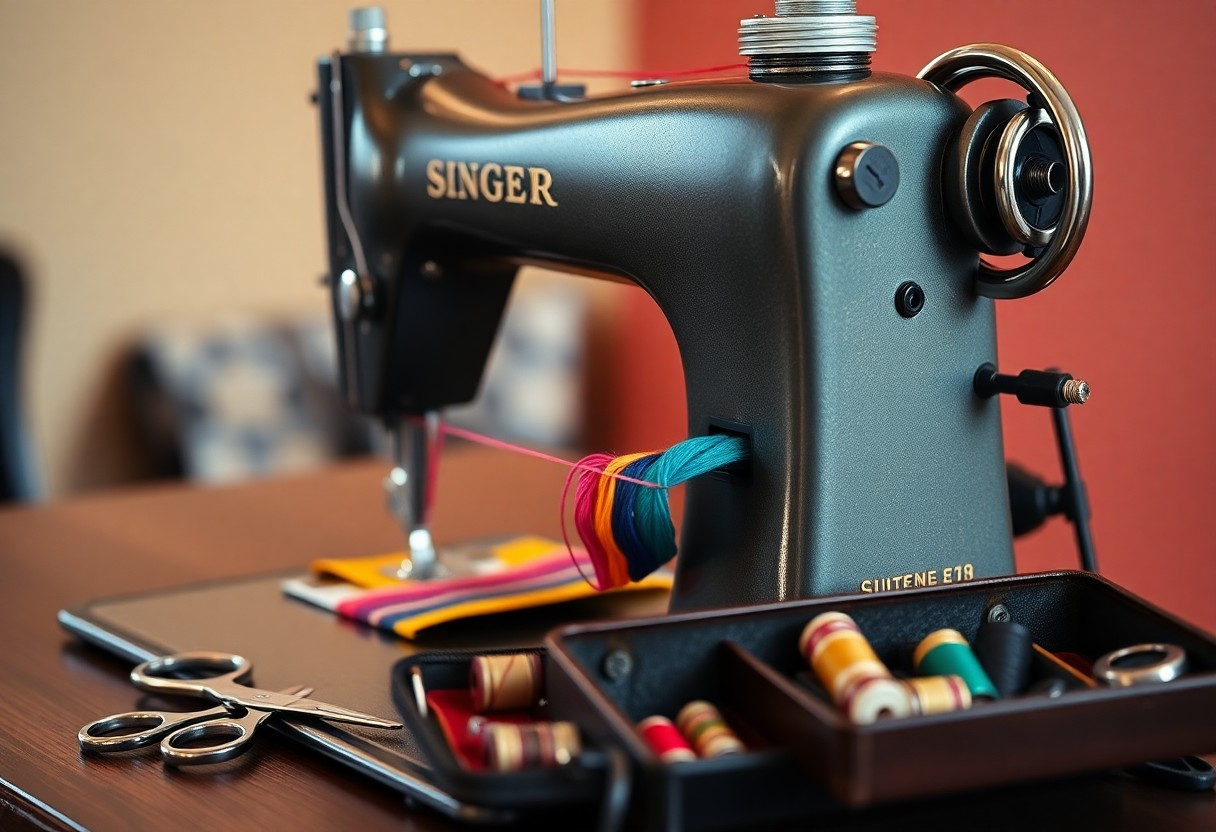
The Anatomy of the Singer 301: Key Features for Optimal Performance
Understanding the necessary features of the Singer 301 can significantly elevate your sewing mastery. This remarkable machine blends traditional design with modern functionality, ensuring quality and convenience. Key features include:
- Adjustable Stitch Length: Allows for customization based on your sewing project.
- Free Arm Design: Facilitates easier handling of cylindrical pieces like sleeves and hems.
- Automatic Needle Threader: Simplifies threading, saving time and frustration.
- Heavy-Duty Metal Frame: Provides durability and stability during intensive sewing tasks.
- Zigzag Capability: Expands your sewing options, from basic repairs to intricate designs.
Knowing how to utilize these features effectively can transform your sewing experience and help you achieve stunning results.
Essential Parts and Their Functions
Every part of the Singer 301 has a specific role that contributes to its overall performance. The needle, for example, is responsible for the stitching itself, while the presser foot applies pressure to fabric layers to guide them during sewing. Tension discs regulate thread tension, crucial for achieving even stitches. Understanding each part allows you to troubleshoot and optimize your sewing processes.
How Design Influences Threading Techniques
The design of the Singer 301 plays a pivotal role in effective threading. With a straightforward path for the thread, you ensure it glides smoothly through the tension mechanism and needle. The layout minimizes tangles and jams, promoting a seamless workflow. Additionally, the placement of the spool pin and take-up lever directly impacts how well the machine operates under various conditions.
The unique design features of the Singer 301 enable you to enhance your threading techniques. For instance, the clear thread path marked on the machine can guide you in threading accurately, reducing the likelihood of errors. As you thread, keep an eye on the tension settings indicated near the tension discs—these influence how tightly or loosely the thread feeds through the fabric. Adapting to these design elements not only fosters a smoother sewing experience but also encourages you to explore more complex projects without hesitation.
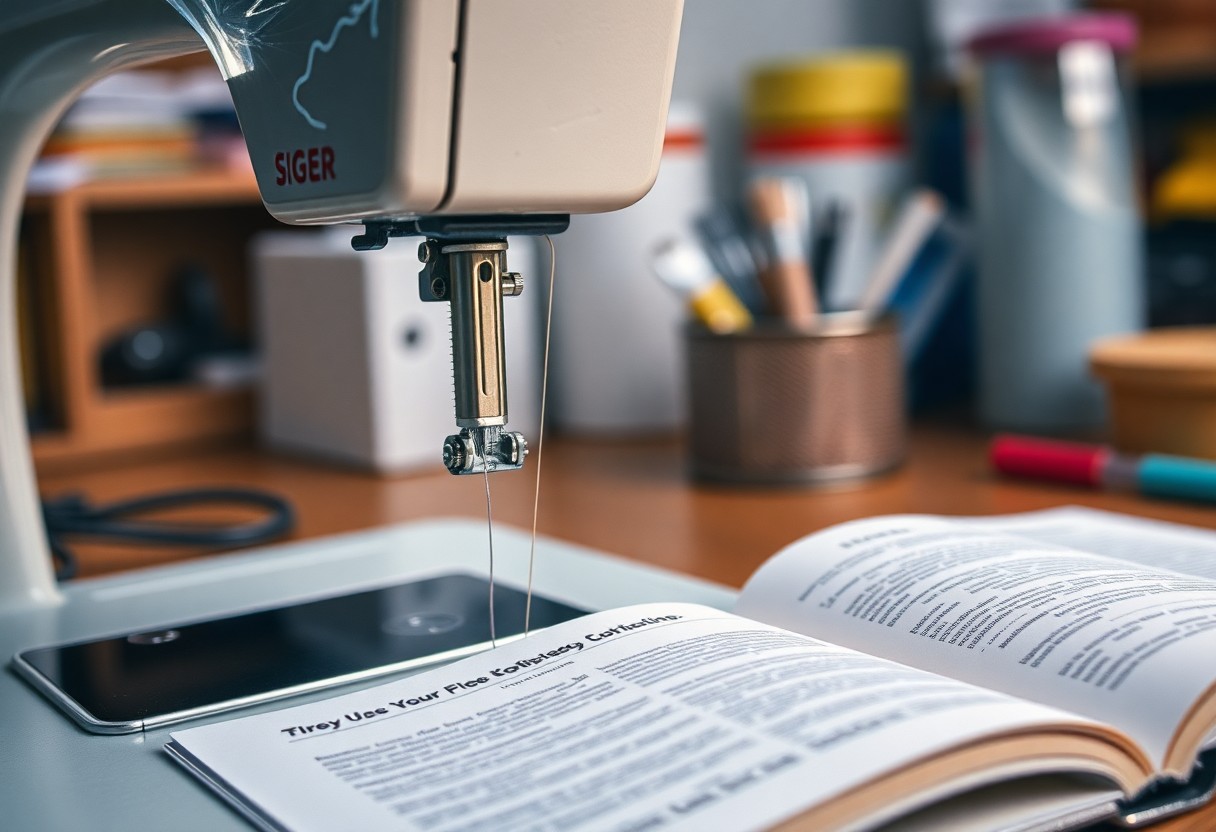
Threading Techniques That Transform Your Sewing Game
Mastering the art of threading your Singer 301 can significantly elevate your sewing projects. With the right techniques, you can achieve smoother stitches, reduce the chances of thread breakage, and ensure your fabric feeds properly. Implementing effective threading strategies empowers you to produce professional-quality results effortlessly, making your sewing experience not just enjoyable, but also highly productive.
Step-by-Step Guide to Flawless Threading
| Step | Description |
|---|---|
| 1 | Start with the thread spool and place it on the spool pin. |
| 2 | Guide the thread through the tension discs, ensuring it’s snug but not too tight. |
| 3 | Thread the take-up lever from right to left for optimal tension control. |
| 4 | Ensure the thread is inserted into the needle with the flat side facing the back. |
| 5 | Pull a few inches of thread through the needle to test for smooth operation. |
Common Threading Mistakes and How to Avoid Them
Threading errors can lead to frustrating sewing sessions filled with complications. Issues such as thread jamming or skipped stitches often arise from improper threading. By familiarizing yourself with these mistakes, you can fine-tune your technique to ensure a flawless sewing experience.
Common mistakes include misplacing the thread in the tension discs or not fully inserting it into the take-up lever. Another frequently overlooked error is the direction of threading through the needle; improper orientation can cause ineffective stitches. To avoid these pitfalls, always double-check your threading path against your manual. Additionally, practicing a few times with scrap fabric can help reinforce correct threading techniques, leading to a more efficient and enjoyable sewing experience.
The Role of Thread Quality: Selecting the Right Thread for Your Projects
Choosing the right thread quality significantly impacts your sewing experiences and finished projects. Premium thread is usually made from superior materials, offering smoother finishes and durability. Different projects require specific types of thread to achieve optimal results. Consider experimenting with thread types to match your fabric and machine, thereby enhancing stitch quality and overall appearance.
Types of Threads and Their Impact on Stitch Quality
- All-Purpose Thread: Versatile and suitable for most fabrics.
- Specialty Thread: Designed for specific techniques like embroidery.
- Quilting Thread: Heavier and reduced lint for quilt projects.
- Serger Thread: Lightweight for optimal serging results.
- Heavy-Duty Thread: Stronger for durable seam applications.
| Type of Thread | Impact on Stitch Quality |
| All-Purpose Thread | Good for everyday projects, providing strong stitches. |
| Specialty Thread | Enhances decorative elements and adds texture. |
| Quilting Thread | Minimizes lint buildup for smoother quilting. |
| Serger Thread | Optimizes performance in overlock applications. |
| Heavy-Duty Thread | Ensures longevity in high-stress seams. |
The Importance of Thread Tension: Getting It Just Right
Achieving the correct thread tension is vital for pristine stitches in your sewing projects. Tight tension can lead to puckering, while loose tension may cause skipped stitches or unraveling. Adjusting the tension on your Singer 301 allows for precision based on the fabric weight and thread type in use. Small increments can make a significant difference, so take time to test and fine-tune your settings to achieve professional results.
Thread tension has a direct impact on fabric manipulation. Each machine, including the Singer 301, may require unique tension adjustments depending on various combinations of fabric types, thicknesses, and thread styles. For example, heavier fabrics necessitate looser tension, while finer fabrics often require tighter settings. Pay attention to your stitching while sewing, as irregularities can signal tension issues. Make minor adjustments and perform test stitches to find the sweet spot for your current project. After mastering this important skill, your sewing projects will not only look better, but you will also enjoy a more streamlined sewing process.
Advanced Threading Strategies for Professional-Looking Results
To achieve high-quality finishes and elevate your sewing projects, implementing advanced threading strategies can make a substantial difference. Properly using your Singer 301, along with dedicated techniques, can enhance your seam integrity and give your work a polished appearance.
- Double-check your machine’s threading path to ensure optimal thread flow.
- Utilize the tension settings specific to the fabric type you are sewing.
- Incorporate specialty needles designed for specific thread types and fabrics.
- Maintain consistent sewing speeds to avoid snags and uneven stitches.
| Advanced Threading Techniques | Description |
|---|---|
| Adjustable Tension | Expertly fine-tune tension settings for different thread weights and fabric types. |
| Threading Order | Follow an organized sequence when threading to establish thread consistency. |
| Layering Threads | Mix different threads for visual effects, creating beautiful designs and textures. |
Experimenting with Specialty Threads for Unique Textures
Introducing specialty threads into your projects allows you to create textures not typically achievable with standard threads. Metalized and variegated threads, for instance, can add shimmer and gradient effects that catch the eye. Use these unique threads in appliqué or decorative stitch designs to turn your creations into standout pieces worthy of any showcase.
Techniques for Layering Threads to Enhance Design
Layering multiple threads is an effective way to create depth and visual interest in your sewing projects. Experimenting with different types of thread, such as combining cotton with polyester or mixing contrasting colors, opens up a world of design possibilities. By carefully adjusting the tension and stitch settings while layering threads, you can achieve textures that elevate your fabric’s appearance, transforming a simple design into a dynamic composition.
To maximize the effect of layered threads, consider using a combination of contrasting colors and varying thicknesses. For example, pairing a thicker thread with a lightweight one can create dimensionality within your seams. Additionally, employing different stitch types—like zig-zag or decorative stitches—on top of layered threads adds further intrigue. This technique can be especially effective in quilting or embellishing garments, as it draws attention to specific areas of your work and showcases your creativity.
Real-World Applications: Transforming Your Sewing Projects with Proper Threading
Unlocking the full potential of your Singer 301 begins with understanding how proper threading can revolutionize your sewing projects. This technique doesn’t just enhance your machine’s performance; it also pushes the boundaries of your creativity. Fine details, clean finishes, and durable seams are achievable when you master the art of threading, allowing you to transform simple fabric into stunning, professional-quality creations.
Projects That Benefit from Precise Threading
Many projects particularly benefit from precise threading techniques. For instance, garments made from delicate fabrics such as silk or satin require exact thread tension to avoid puckering or distortion at seams. Home decor items, like curtains or quilts, also demonstrate the importance of careful threading; any error can lead to visible flaws that compromise the overall aesthetic. Whether you’re tackling apparel, accessories, or crafts, the right threading can elevate every piece you create.
Testimonials: What Experienced Sewers Say About Threading
Experienced sewers often emphasize that proper threading is a game changer in their sewing journey. Many report fewer skipped stitches, smoother fabric feeding, and overall improved outcomes when they take the time to ensure their machines are threaded correctly. Some have even cited specific instances where threading adjustments turned a problematic project into a flawless finish, unlocking their creative potential.
“Proper threading has completely changed my sewing experience,” says one avid sewer. “Before, threads would break constantly, and I struggled to achieve clean seams. Now, with meticulous threading, I can sew through multiple layers of fabric without a hitch. I’ve even started taking on more complex projects simply because I trust my machine thanks to correct threading.” This sentiment echoes among those who have embraced proper threading techniques—transforming not just their workflow but the quality of their final products as well.
Conclusion
Upon reflecting on the importance of proper threading for your Singer 301, you will appreciate how it significantly enhances your sewing experience. By mastering the threading process, you can achieve cleaner stitches, prevent threading issues, and ensure your projects turn out beautifully. Embracing these techniques not only boosts your confidence but also unlocks your sewing machine’s full potential. As you continue to explore the capabilities of your Singer 301, be mindful that meticulous threading is a fundamental skill that can transform your sewing journey.
FAQ
Q: How can I tell if my Singer 301 is threaded correctly?
A: The proper threading of your Singer 301 can be identified through several signs. First, check if the thread is flowing smoothly from the spool to the needle without any tangling or resistance. Next, observe the stitches: they should be even and consistent in tension. If you notice loose loops on the underside of the fabric or tightness on the top, it may indicate improper threading. Additionally, you might hear unusual noises during sewing, or the machine may skip stitches. Following the threading diagram in your user manual can also help ensure your machine is threaded correctly.
Q: What common threading mistakes should I avoid when using my Singer 301?
A: There are several common mistakes that can occur during the threading process. One such mistake is not fully inserting the thread into the tension discs, which can lead to false tension readings. Another issue is overlooking the threading path indicated on the machine; skipping any part of the guide can result in inconsistent stitches. It’s also necessary to make sure that the thread is correctly positioned in the needle: the thread should enter from the front to the back without getting caught on any parts of the machine. Lastly, ensure that the thread spool itself is seated correctly on the spool pin to avoid unnecessary friction.
Q: How does proper threading affect the overall performance of my Singer 301?
A: Proper threading is fundamental to the overall performance of your Singer 301. When threaded correctly, the machine functions more efficiently, resulting in smoother operation and higher-quality stitches. Proper threading allows the tension to be balanced, which helps prevent issues such as puckering or thread breakage. Moreover, it can enhance your sewing experience by reducing the time spent troubleshooting and correcting sewing errors. A well-threaded machine also helps to prolong the lifespan of the machine by minimizing wear and tear caused by incorrect usage.