
Singer sewing machines, like your 301 model, offer you exceptional performance when threaded correctly. Understanding the threading process can eliminate frustrating thread breakage and uneven stitches. In this guide, you will learn about common mistakes to avoid, ensuring smooth operation and a successful sewing experience. From the proper path of the thread to the positioning of the tension discs, these tips will help you maximize the efficiency and longevity of your machine. Dive in, and elevate your sewing skills today!
Key Takeaways:
- Always refer to the manual for the correct threading path specific to the Singer 301 to prevent misthreading.
- Check that the presser foot is in the up position while threading; this ensures smooth tension of the thread.
- Run a test stitch on scrap fabric after threading to verify that everything is set up correctly and adjust as necessary.
Demystifying the Threading Process
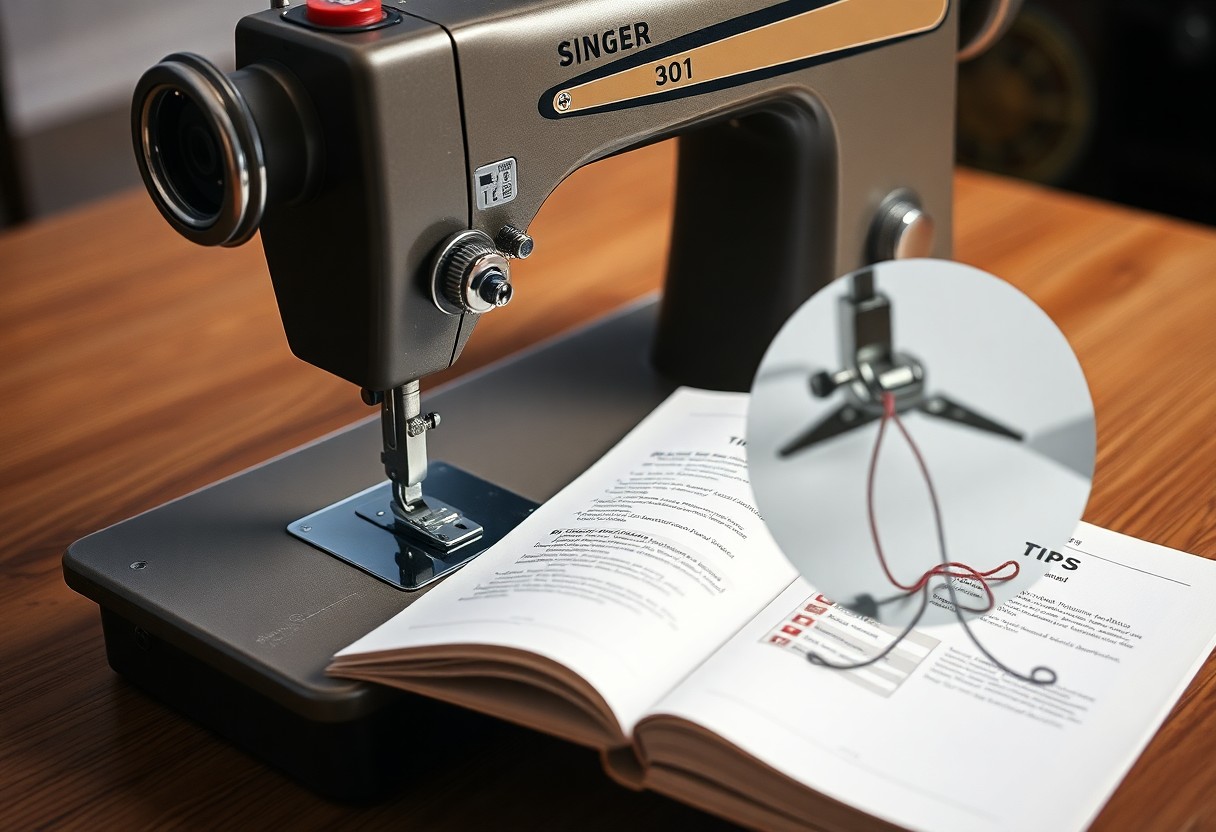
Threading your Singer 301 doesn’t have to be an intimidating task; it can be a straightforward and efficient process when you understand the steps clearly. Many users struggle with this due to misunderstanding the threading path or skipping detailed steps that can lead to messy stitches or a tangled thread mess. Knowing the correct route for your thread will enhance your sewing experience and ensure consistent performance from your machine.
Step-by-step Guide to Threading Your Singer 301
| Step | Description |
|---|---|
| 1 | Place the spool of thread on the spool pin, ensuring it unwinds smoothly. |
| 2 | Guide the thread through the tension assembly, following the path indicated on your machine. |
| 3 | Ensure the thread passes through the take-up lever before going to the needle. |
| 4 | Thread the needle from front to back, pulling an adequate length through. |
Essential Tools and Accessories for Smooth Threading
Having the right tools can significantly reduce frustration during the threading process. Essential tools include a pair of sharp scissors, a needle threader for convenience, and even a small flashlight for better visibility in low light. These items not only simplify the threading but also enhance your sewing efficiency.
Investing in these accessories ensures that you have everything you need within arm’s reach, enhancing your overall experience. For instance, using sharp scissors will enable you to cut the thread cleanly, preventing fraying that can cause issues during sewing. A needle threader is especially helpful for those days when your eyesight might not be at its best, allowing for a quick and precise threading process. Do not forget, having organized tools and accessories near your sewing space can greatly contribute to a smooth and enjoyable sewing session.
Common Pitfalls That Lead to Frustration
Frustration often arises from a few common pitfalls during the threading process. Rushing through the steps, skipping parts, or not following the correct path can create significant issues like knots or uneven stitching. Poor lighting can also hinder your ability to see the threading path clearly, leading to errors. Moreover, not securing your thread properly at the beginning can result in thread slipping, causing further complications down the line. Taking the time to set up correctly will help you avoid these pitfalls and create a smoother sewing experience.
The Most Frequent Mistakes Novices Make
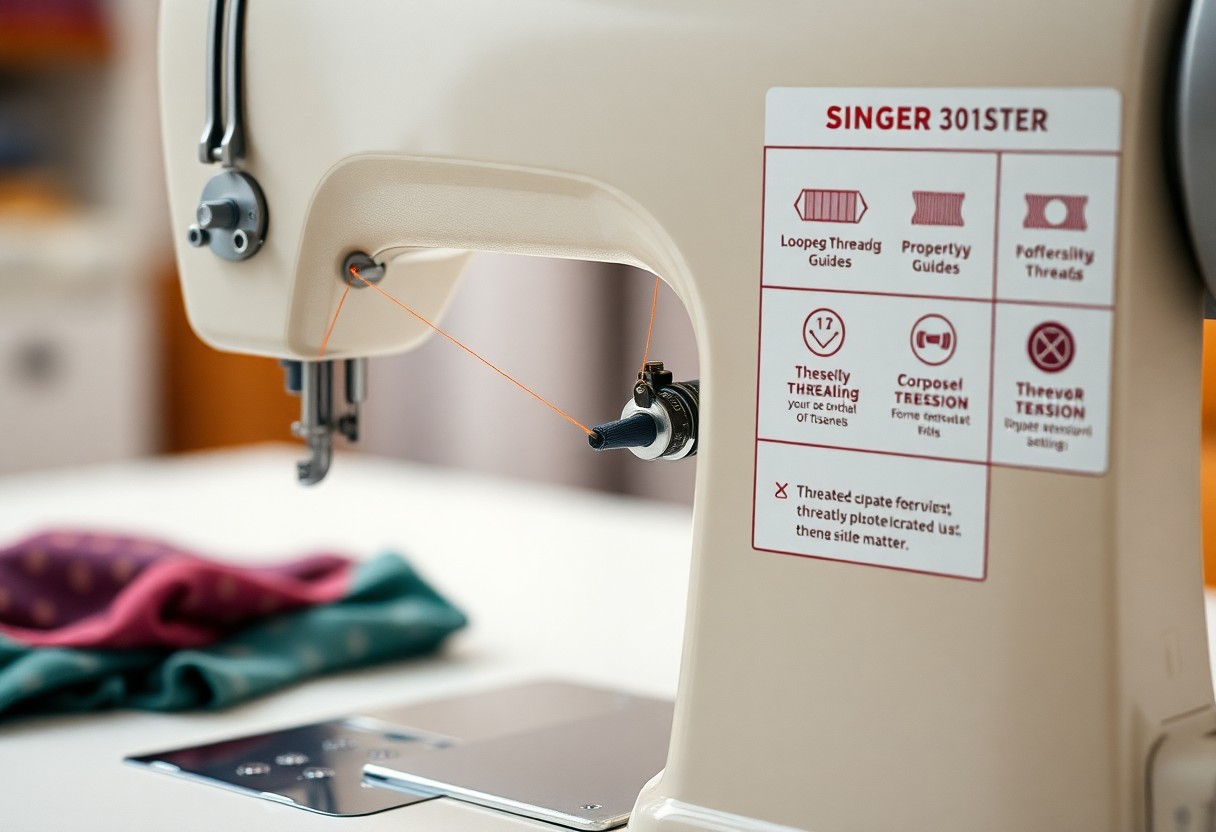
One of the most frequent mistakes when threading the Singer 301 involves ignoring the thread guide. Skipping this vital step leads to tension problems and skipped stitches. Additionally, using the wrong type of thread can create frustration; always opt for a thread compatible with your specific machine settings. Overlooking the spool placement can also cause tangled threads, so ensure the spool is positioned correctly to allow for smooth unwinding. Taking note of these details can significantly reduce threading mishaps.
Misconceptions About Thread Tension and How to Avoid Them
Many believe that if a stitch doesn’t look right, the thread tension is always to blame. However, this isn’t the only factor at play. It’s crucial to consider the type of fabric, the needle size, and whether the thread is threaded properly through all tension disks. First, ensure that your thread tension is set correctly according to the fabric you are using; lighter fabrics often require less tension. Additionally, if you experience consistent issues, occasionally re-evaluating your needle choice and fabric compatibility can assist in achieving optimal stitching results.
Understanding tension settings can be tricky, but it’s often about finding the right balance rather than making drastic changes. For example, when working with heavier materials, a slightly higher tension may be required to prevent puckering. Conversely, delicate fabrics often benefit from a looser tension setting. Regularly testing on fabric scraps of the same material before starting your actual project will help you dial in the perfect tension while minimizing frustration. This simple practice can go a long way in ensuring your sewing project runs smoothly from start to finish.
Fine-Tuning Your Techniques for Better Results
Perfecting your threading technique can significantly enhance your sewing experience with the Singer 301. By paying attention to details, you can achieve smoother stitching and minimize common issues related to thread tension and feed.
Tips for Achieving Perfect Thread Tension
Getting your thread tension just right involves a few simple steps. Start with these tips for optimal results:
- Always use the correct type of thread for your fabric.
- Adjust the tension dial gradually, commonly around 4 for most fabrics.
- After threading, test stitch on scrap material to check tension before starting your project.
After finding the ideal settings, you’ll notice a significant improvement in your sewing quality.
The Importance of Maintaining Your Sewing Machine
Regular maintenance of your sewing machine is crucial for ensuring its longevity and optimal performance. Cleaning the bobbin area and threading paths of lint and debris helps prevent tension problems. Scheduling periodic servicing can catch potential issues before they escalate, providing you with consistent stitching quality.
Expert Insights: What Professionals Recommend
Learning from industry professionals can provide valuable techniques to ensure smooth threading of your Singer 301. Many seasoned sewers emphasize the importance of understanding your machine’s anatomy and consulting the manual. Investing time in familiarizing yourself with the threading diagrams can save you countless hours of troubleshooting. Additionally, using high-quality threads that are compatible with your machine enhances performance and reduces the risk of potential breakdowns.
Tips from Experienced Sewists on Threading
- Always use the correct type of thread for your project.
- Check that your needle is appropriate for the fabric.
- Clean the bobbin area regularly to prevent jams.
- Take your time; rushing often leads to mistakes.
Recognizing these simple but effective strategies can significantly streamline your threading process and improve your overall sewing experience.
Secrets to Quick Fixes When Things Go Wrong
Knowing how to troubleshoot common threading issues on your Singer 301 can save you time and frustration. For instance, if you notice skipped stitches, re-threading the entire machine, including the bobbin, can often resolve the issue. Additionally, adjusting the tension settings can help if you experience uneven stitches. Keep a small toolkit handy with vital supplies such as extra needles, thread, and scissors to address problems quickly. Understanding why these situations occur enhances your ability to react promptly, ensuring less downtime and more productive sewing sessions.
Troubleshooting Your Threading Issues
Unexpected issues during threading can lead to significant frustration. Recognizing the symptoms of incorrect threading early allows you to address problems before they escalate. It’s vital to develop a keen eye for irregularities that signal something is amiss, ensuring a more seamless sewing experience.
Identifying Symptoms of Incorrect Threading
Several symptoms indicate incorrect threading, such as uneven stitches, thread bunching underneath the fabric, or frequent thread breakage. Skipped stitches or overly tight tension can also point to threading errors. Monitoring these signs as you sew helps pinpoint areas needing immediate attention.
Effective Solutions to Common Threading Problems
When you encounter threading problems, start by re-threading your machine, ensuring the thread follows the correct path and the tensions are set properly. If you notice skipped stitches, check that the needle is installed correctly and not dull. Regular maintenance, such as cleaning lint from the machine and replacing worn-out parts, can prevent many common issues.
Addressing threading problems often involves a methodical approach. For instance, if you’re facing thread tension issues, adjusting the tension dial is a good first step, but don’t forget to verify that the thread is properly seated in the tension discs. A quick inspection of the needle height can also help eliminate skipping. If the problems persist, checking your thread quality is key; cheap or old thread can often cause unexpected complications. Always use high-quality materials designed for your machine for the best results.
To wrap up
Summing up, successfully threading your Singer 301 requires attention to detail and an understanding of common pitfalls. By ensuring you follow the threading path accurately, checking your tension settings, and threading in the correct order, you can avoid typical mistakes that lead to frustration. Take your time and familiarize yourself with your machine’s features to enhance your sewing experience. With these tips in mind, you can confidently thread your Singer 301, ensuring smoother and more efficient sewing projects.
FAQ
Q: What are the common mistakes to avoid when threading my Singer 301?
A: One of the most frequent errors is not following the threading path as indicated on the machine. Ensure that the thread is guided through all the necessary tension discs and hooks in the correct order. Additionally, avoid pulling the thread excessively tight as this can create unnecessary tension problems. Lastly, make sure the presser foot is lifted while threading, as this allows the tension mechanism to relax and properly grip the thread when sewing.
Q: How can I ensure that my Singer 301 is threaded correctly?
A: To ensure proper threading, first, consult your machine’s manual for detailed diagrams. Start by placing the spool of thread correctly on the spool pin and threading it through the upper guides sequentially. It’s helpful to form a loop in the thread to check if it moves smoothly through the tension discs. After threading the needle, manually turn the handwheel to see if the needle picks up the bobbin thread without issues. If the stitches are uneven, recheck each step to verify the pathway.
Q: What should I do if I experience thread jams or breakage while using my Singer 301?
A: Thread jams or breakage can often stem from incorrect threading or using the wrong type of thread. Start by rethreading your machine, ensuring all paths are followed accurately. Also, check the needle for any signs of damage or dullness and replace it if necessary, as a bad needle can lead to breakage. Ensure that the bobbin is wound evenly and installed correctly, and avoid using very old or low-quality thread, which can also contribute to these issues.