Just as technology evolves, so do your creative possibilities with 3D embroidery. In 2025, you can enhance your fabric projects with dynamic textures and stunning visuals using techniques that actually work on home sewing machines. This guide will provide you with practical tips and tested methods to elevate your sewing skills, ensuring you achieve professional-quality results from the comfort of your home. Embrace the future of embroidery and transform your sewing experience.
The Revolution of 3D Embroidery Technology
The advancement of 3D embroidery technology has fundamentally transformed how you approach machine embroidery. In 2025, cutting-edge innovations enable intricate designs with stunning dimensionality and detail, allowing for creative expressions that were previously deemed impossible. You can leverage these technologies to elevate your projects significantly, catering to both personal and commercial applications. The rise of user-friendly interfaces and enhanced precision further facilitates your journey into the world of dynamic embroidery.
Key Advances in Machine Capabilities
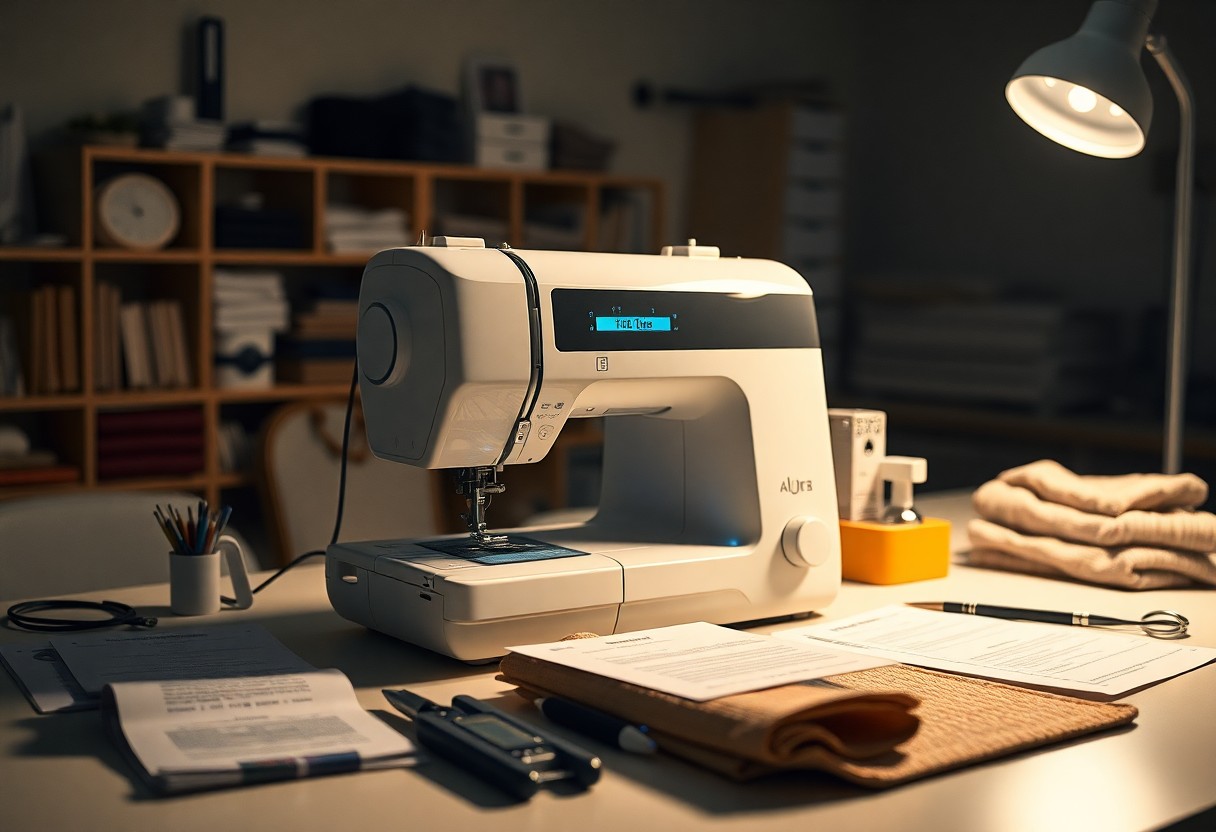
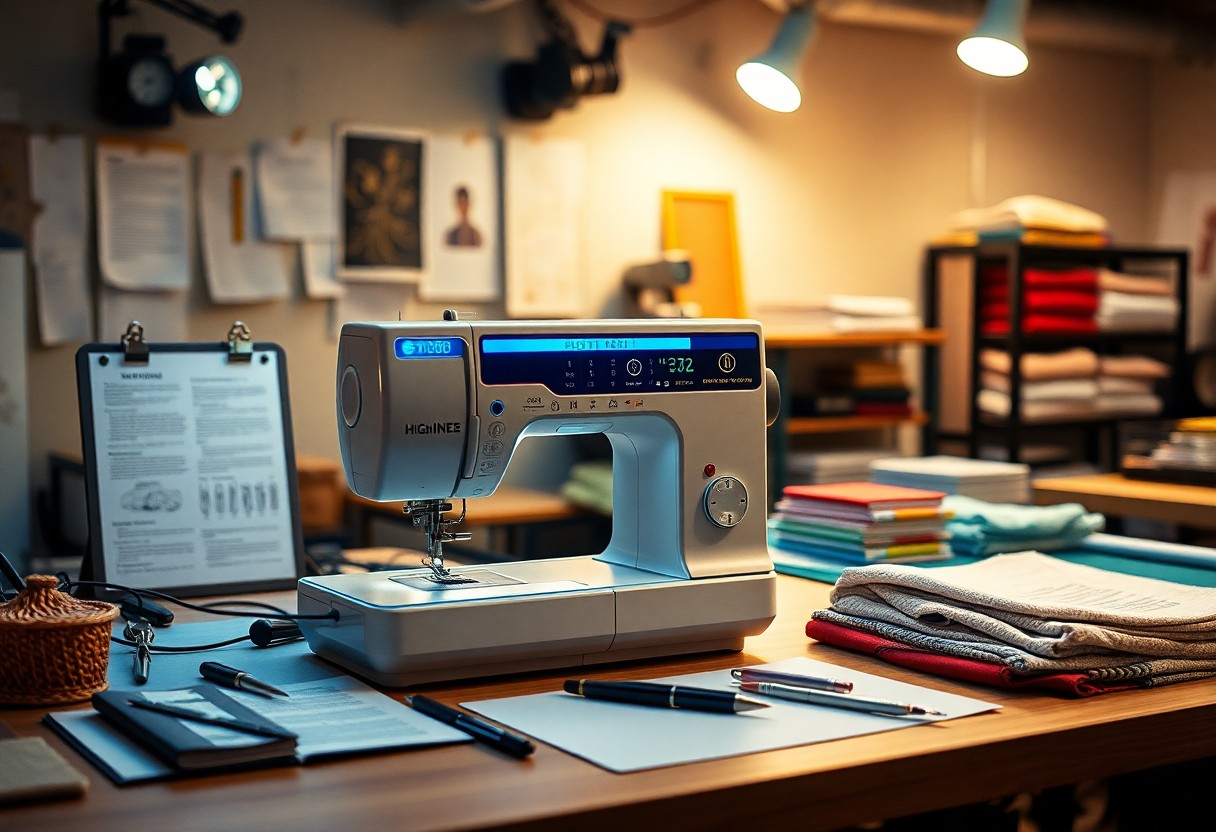
Today’s home sewing machines boast enhanced processing power and automation, giving you unprecedented control over your 3D embroidery designs. These advanced machines come equipped with multipurpose functions, intuitive touchscreen interfaces, and higher stitch counts, allowing you to create multi-layered textures effortlessly. Improved needle positioning and hooping systems ensure accuracy, reducing the likelihood of errors and streamlining your workflow. As a result, you can bring your most complex ideas to life with ease and precision.
Evolution of Thread and Fabric Materials
Innovations in thread and fabric materials have significantly expanded your creative possibilities in 3D embroidery. High-performance threads now offer superior strength, flexibility, and a wide range of finishes, enabling you to achieve multi-dimensional effects without compromising quality. Additionally, fabrics designed explicitly for 3D techniques enhance design adherence and durability, allowing for bold, voluminous structures that hold their form. Choices such as thermo-responsive fabrics and water-soluble stabilizers further enhance your creative arsenal, ensuring that your projects resonate with both style and functionality.
Modern threads, like those made from polyester blends and metallic fibers, provide both aesthetic appeal and resilience, ensuring that your embroidery maintains its vibrancy over time. These materials can withstand diverse environmental factors, from sunlight to moisture, reflecting advancements in textile technology. Furthermore, the introduction of eco-friendly options caters to a growing demand for sustainability in crafting. By combining these advanced threads with innovative fabrics, you can achieve unique textures and elevated designs that stand out, redefining your embroidery projects.
Mastering Essential Techniques for 3D Embroidery
Attaining expertise in 3D embroidery hinges on mastering a few imperative techniques. Each step—ranging from selecting suitable stabilizers to understanding needle and thread compatibility—plays a pivotal role in achieving the desired dimensional effect. Knowing how to navigate these variables empowers you to produce intricate and professional-quality designs effortlessly.
Choosing the Right Stabilizers for Dimension
Stabilizers are the backbone of successful 3D embroidery, ensuring that your stitches hold their shape and height. Utilizing tear-away or cut-away stabilizers is vital, as they provide proper support without compromising the design’s dimensionality. Additionally, exploring specialty foam stabilizers can enhance your project by allowing for an added dimensional effect.
Effective Needle and Thread Pairing
Achieving a polished 3D embroidery design relies heavily on your choice of needle and thread. Using a top-stitch needle can create larger holes that accommodate thicker threads, enhancing dimension. Pair this with polyester embroidery threads that have a slight sheen, which elevates the visual appeal. This combination not only improves the overall look but also ensures smoother stitching.
Your needle and thread pairing significantly impacts the final result. Selecting a needle with a larger eye facilitates smoother passing of thicker threads, reducing the chance of snags and breaks. A 40wt thread often works well for standard embroidery, but venturing into 30wt or 60wt threads introduces different profiles and textures. Experimenting with these options allows you to discover what achieves your particular desired effect, whether that be a sleek finish or a more textured appearance in your 3D designs.
Creative Applications: Transforming Ideas into Fabric
3D embroidery allows you to elevate simple designs into dimensional art pieces, bringing your ideas to life with a standout effect. By combining texture and layering with thoughtful fabric choices, you can create bespoke items that reflect your personal style. From home décor to fashion accessories, the creative applications of 3D embroidery continue to inspire makers to push boundaries and explore new design frontiers.
Designing for 3D Effects in Home Projects
To successfully design for 3D effects, consider using varying stitch types and densities. Techniques such as using foam, felt, or heavy stabilizers will enhance dimension, while layering fabrics allows you to create depth. Focusing on the interplay of color and texture can draw attention to the 3D elements, making your projects not just functional, but also visually striking.
Popular Patterns and Motifs for 2025
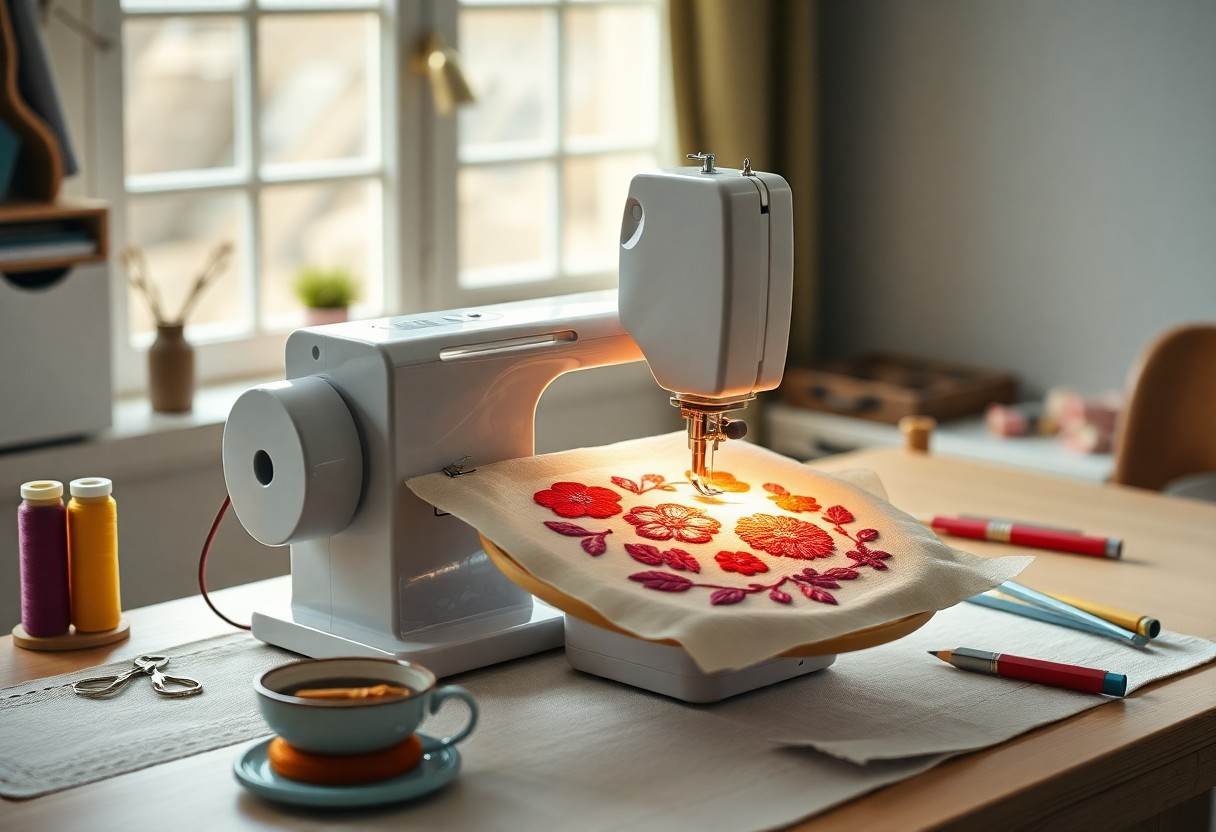
In 2025, themes such as nature-inspired designs, geometric patterns, and abstract motifs dominate the 3D embroidery landscape. Floral designs remain timeless, infused with modern flair through vibrant colors and intricate layering. Geometrics are making a strong statement, lending a contemporary feel to household textiles and apparel. Combining various materials will further enhance these motifs, adding unique textures that catch the eye.
Characterized by their vibrant hues and intricate textures, popular patterns for 2025 include blooming florals, intertwining vines, and audacious geometric shapes. Designers are increasingly opting for layered embellishments, allowing you to create dynamic visuals that capture depth and movement. Integrating these motifs into your projects not only modernizes your creations but also aligns with sustainable practices by repurposing leftover materials into expressive designs.
Troubleshooting Common Pitfalls for 3D Projects
Even skilled embroiderers encounter challenges with 3D projects. Identifying these common pitfalls early can save you time and frustration. Issues such as thread tension, fabric bunching, and distortion often arise during the process. Understanding how to troubleshoot these problems empowers you to create flawless, three-dimensional designs that stand out.
Identifying Thread Tension Issues
Thread tension plays a pivotal role in achieving a clean 3D embroidered finish. If you notice irregular stitches or excessive puckering, your tension could be too tight or too loose. Check your machine’s manual for recommended tension settings for different thread types to ensure your adjustments match the materials you’re using.
Solutions for Fabric Bunching and Distortion
Fabric bunching and distortion often stem from improper hooping or the use of incompatible stabilizers. Ensure your fabric is taut in the hoop while allowing enough give for the 3D elements. Consider using a heavier stabilizer to support the design, reducing the risk of distortion during stitching. Adjusting your machine’s speed can also minimize these issues by allowing smoother feeding of materials.
To address fabric bunching effectively, utilize a stabilizer that matches the density of your fabric and design. For instance, if you’re creating thicker 3D effects, opt for cut-away stabilizers that provide more support. Ensure firm hooping techniques to maintain fabric tension throughout the embroidery process. Experimenting with stitching speed also can alleviate bunching; slower speeds allow for controlled motion and greater accuracy. By refining these aspects, you enhance the overall quality of your 3D projects significantly.
Building a Community: Resources and Networking
Engaging with a community of fellow embroiderers can elevate your skills and inspire your projects. You can discover local meet-ups, online forums, and social media groups dedicated to 3D embroidery that foster support and resource sharing. Building these connections not only enhances your learning experience but also opens doors to collaborations that can lead to exciting new creations.
Online Groups and Workshops for Continuous Learning
Participating in online groups and workshops is vital for staying updated with the latest techniques and trends in 3D embroidery. Platforms like Facebook and Reddit host vibrant communities where you can exchange tips, share your work, and ask questions. Additionally, webinars and virtual workshops offered by experts provide hands-on experience and personalized guidance to hone your craft.
Collaborating with Designers and Other Embroiderers
Working alongside designers and other embroiderers can enrich your creative process. Collaborations might involve co-developing designs or experimenting with different techniques, allowing you to merge ideas and broaden your artistic horizons.
By collaborating with designers, you access professional insights and innovative concepts that can elevate your projects. Joint ventures could lead to unique collections or custom pieces, appealing to diverse audiences. Networking at local craft shows or through social media cultivates relationships that could result in valuable partnerships, fostering an environment to ignite fresh inspiration and skill development. Engaging with others who share your passion can also lead to joint exhibitions, enhancing community visibility while establishing your name in the 3D embroidery landscape.
Conclusion
As a reminder, mastering 3D embroidery techniques on your home sewing machine in 2025 can elevate your projects to a new level of creativity and professionalism. By understanding the crucial tools, correct stabilizers, and embroidery settings, you can achieve stunning results and truly personalize your designs. Embrace experimentation and practice with different methods to find what works best for you, ensuring that your embroidery remains both innovative and visually appealing.
FAQ
Q: What are the best techniques for achieving 3D embroidery on home sewing machines?
A: The best techniques include using high-loft embroidery foam, adjusting tension settings, and ensuring proper stabilizer use. Layering embroidery foam can create depth, while specific stabilizers help maintain fabric stability during stitching.
Q: What type of home sewing machines are suitable for 3D embroidery?
A: Machines that offer adjustable stitch length and width, along with a strong needle penetration feature, are ideal for 3D embroidery. Brands like Brother, Bernina, and Janome provide models well-suited for this technique.
Q: How can I improve my 3D embroidery results?
A: To improve results, experiment with different needle types, such as ballpoint needles for knits, and use quality embroidery threads. Additionally, ensure the fabric is properly hooped and use a heat gun or iron to slightly reshape the foam after embroidery for a better finish.