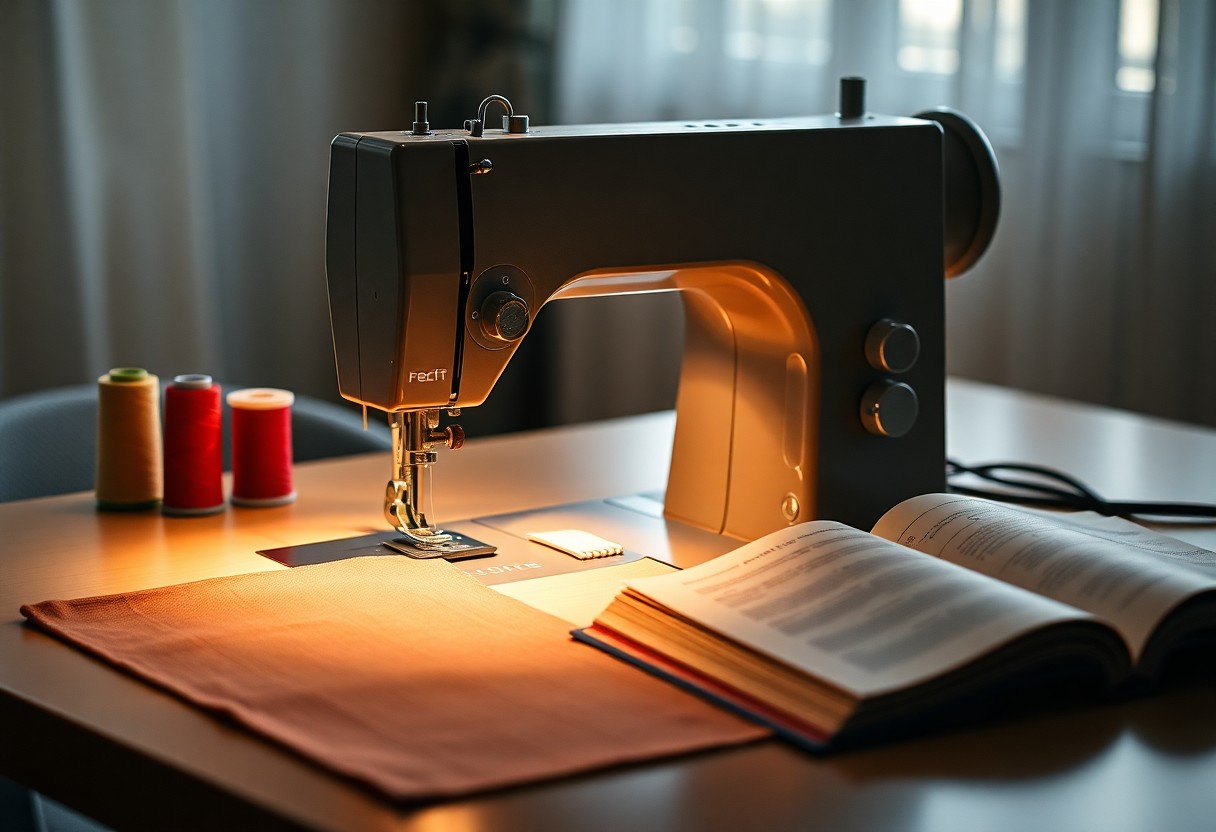
Many people underestimate the value of a coverstitch machine in achieving professional-looking hems at home. This machine can transform your ordinary sewing projects by providing a neat, durable finish. In this tutorial, you will learn how to effectively use a coverstitch machine to create flawless hems for your garments.
Before starting, ensure your coverstitch machine is correctly threaded. Refer to your machine manual for specific threading instructions. As you set up, opt for contrasting thread to make your first attempts easier to see. You’ll find that practice makes perfect.
To begin, prepare the fabric you plan to hem. It’s best to work with a fabric that won’t fray easily, such as knit or jersey. Cut your fabric to the desired length, allowing for about 1 inch of hem allowance. This extra fabric will help you achieve a professional finish.
Next, fold the hem up by the hem allowance and press it flat. This creates a guide for your coverstitch. You can use fabric clips or pins to secure the folded hem in place, ensuring it doesn’t shift while you sew.
Place the fabric under the presser foot of your coverstitch machine. Align the folded hem with the guideline on the machine to ensure consistent stitching. Adjust the stitch length and width according to the fabric type; lighter fabrics typically require a shorter stitch length.
Once everything is positioned, lower the presser foot and begin sewing. Keep a steady pace, allowing the machine to feed the fabric smoothly. After completing the hem, check for even stitches and a consistent finish. If you notice any skipped stitches or unevenness, revisit the machine settings or tension.
After finishing your hem, you may want to practice on scrap fabric first to fine-tune your technique. You can experiment with different stitch types available on your machine, such as the double or triple coverstitch. This versatility allows you to customize hems based on your project’s needs.
For a polished look, you can finish the raw edges of the fabric before hemming. Use a serger or a zig-zag stitch on your regular sewing machine to prevent fraying and ensure longevity.
As far as tacking down the hem, you can either stitch across the hem’s edge or use a stitch in the ditch technique for more invisibility. This method hides stitches within the seam, creating a clean appearance on the outside.
Finally, give your finished garment a good press with an iron. This step enhances the crispness of the hem and helps settle the stitches. By following this coverstitch machine tutorial, you can create high-quality hems that rival those found in professional garments.