You can achieve stunning leather projects at home with the right knowledge of machine settings, needles, and important pro tips. Understanding your sewing machine’s capabilities is key to working with leather effectively, and selecting the appropriate needle can prevent damage and ensure a clean stitch. Along with tailored techniques for handling thick materials, you’ll learn to navigate potential challenges, allowing you to create professional-quality pieces. With these insights, your leather sewing endeavors will be both successful and enjoyable.
Mastering Machine Settings for Leather
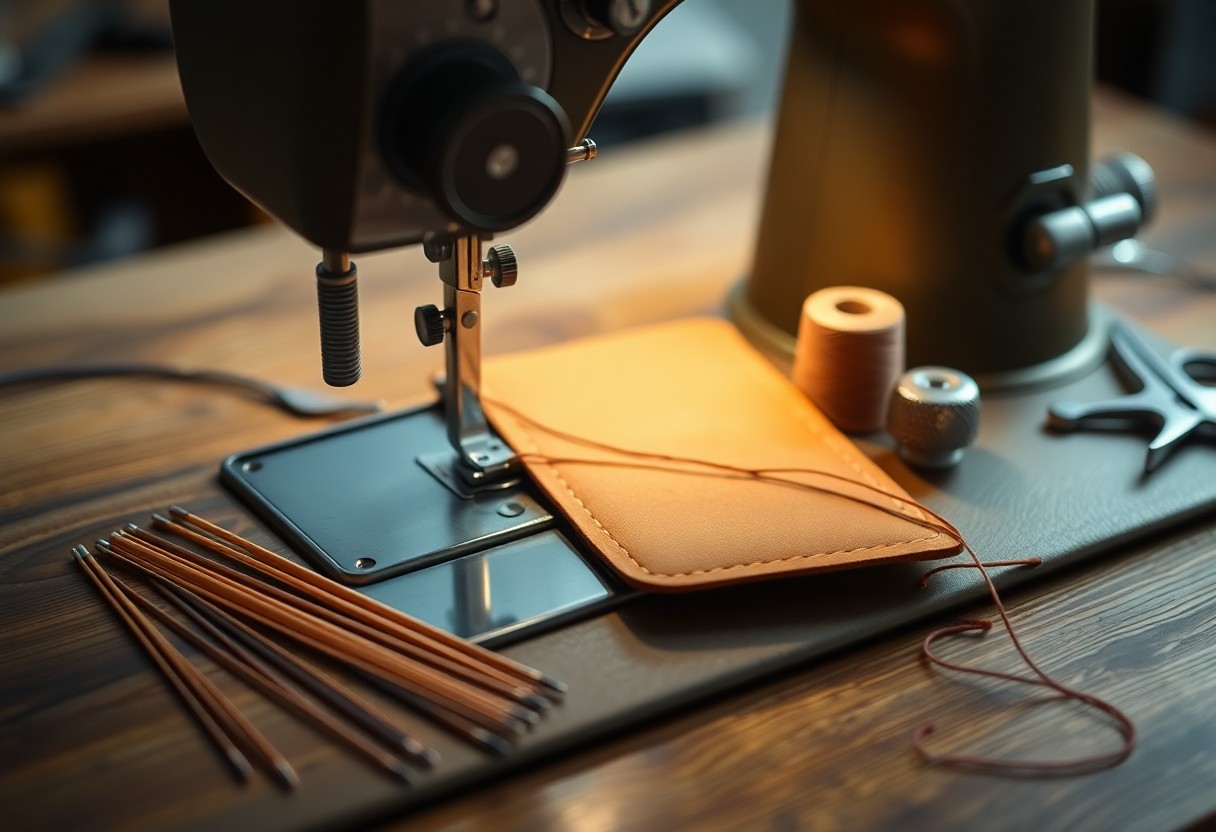
Achieving successful leather projects hinges on your machine settings. Ensure your sewing machine is equipped with a walking foot and appropriate needle designed for leather. Adjust the stitch length to around 3mm or longer for better penetration and to minimize damage to the material. Regularly test your settings on scrap leather to fine-tune your results before tackling the final piece.
Essential Adjustments for Stitching Success
For stitching leather, start by setting your stitch width to a narrow, straight stitch. A longer stitch length prevents the leather from puckering and allows for flexibility. Use a heavy-duty needle, ideally a size 90/14 or 100/16, to penetrate thicker materials. Additionally, using a leather needle helps to maintain stitch integrity and cleanliness.
Tension and Presser Foot Settings Explained
Balancing tension and presser foot settings is vital for a polished finish on leather. A higher presser foot pressure can help keep layers flat without distorting the material, while the tension should be adjusted to allow the thread to sit comfortably on the surface without puckering.
Specifically, you may need to lower the tension settings to around 4 or 5, depending on your thread and leather thickness. When the tension is too high, it can create unwanted loops or uneven stitches. Use a presser foot adjustment to maintain constant contact with your leather, ensuring even feed and preventing slipping. Testing your setup on scrap leather before proceeding with your project will help solidify these adjustments and provide you with confidence in your stitching outcome.
Choosing the Right Needles: The Key to Smooth Sewing
Selecting the correct needle is important for achieving smooth and consistent stitches in your leather projects. The right needle minimizes issues such as skipped stitches and damage to the leather, ensuring a professional finish. Choosing a needle specifically designed for leather helps you sew through the material with ease, maintaining both the integrity of your project and the performance of your machine.
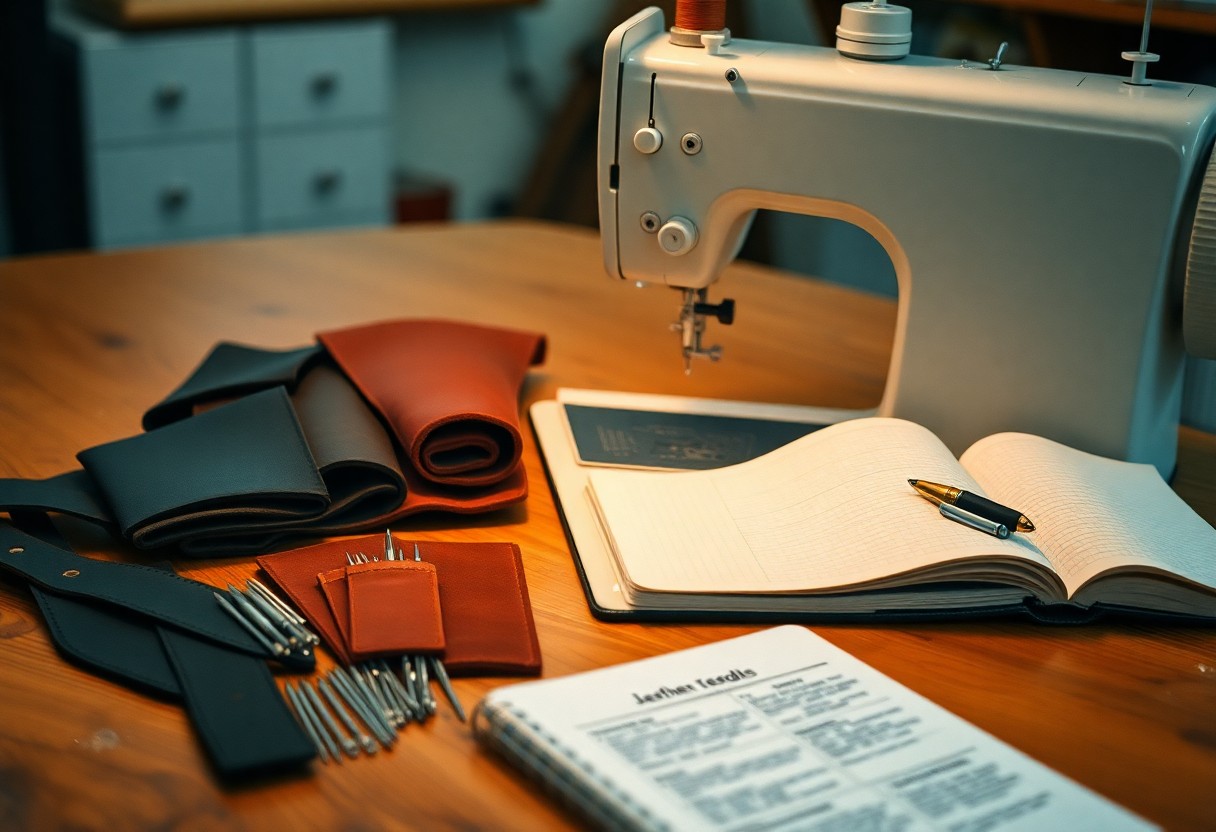
Needle Types That Fit Leather Projects
Different needle types cater to various leather weights and project requirements. Consider the following options:
- Leather needles – Featuring a wedge-shaped tip, they easily pierce leather without tearing.
- Universal needles – Good for light to medium leather, accommodating multiple materials.
- Double needles – Useful for decorative stitches and hems.
- Heavy-duty needles – Suitable for thicker leathers and larger, sturdier projects.
- Any needle type chosen directly impacts your stitching experience and final results.
| Needle Type | Description |
| Leather Needles | Ideal for thick leather, ensuring clean perforations. |
| Universal Needles | Versatile option for lighter leather and mixed materials. |
| Double Needles | Great for decorative seams and parallel stitching. |
| Heavy-Duty Needles | Designed for heavy leathers and robust projects. |
How Needle Size Affects Stitch Quality
Needle size plays a significant role in stitch quality, impacting everything from tension to the final appearance of your seam. A larger needle creates larger holes, which may be suitable for thick leather but can weaken the material’s structure if incorrectly sized. Conversely, a smaller needle is ideal for fine materials but may struggle with heavier leather. Finding the right balance ensures even tension and consistent stitches, leading to a polished finish.
Specifying the right needle size enhances overall stitch quality by accommodating the thickness and type of your leather. For instance, a 90/14 needle works effectively with medium-weight leather, while an 80/12 needle suits lighter materials. Avoid mismatching needles and leather types to prevent issues like puckering or fraying. Regularly experimenting with needle sizes can help you discover the optimal setup for each project, ultimately enhancing your sewing proficiency and project outcomes.
Preparing Your Leather: Getting Ready to Sew
Before exploring into your project, preparing the leather is important for the best results. Start by ensuring your work surface is clean and free from debris to avoid damage to the leather. Consider the type of leather you’re using, as different textures may require unique handling. Use a damp cloth to wipe away any dust or oils, and let it dry completely before proceeding. Pre-washing any fabric you plan to combine with the leather can help reduce shrinkage and ensure a better fit.
Cutting Techniques for Clean Edges
Achieving clean edges requires the right cutting tools and techniques. Use a rotary cutter or sharp utility knife for straight cuts, ensuring that your blade is always fresh for crisp lines. A metal ruler can guide your cuts, while scissors with sharp blades work well for smaller, intricate sections. Always cut on a cutting mat to protect your work surface and maintain sharpness in your tools.
Marking and Pinning: Critical Steps Before Sewing
Accurate marking and pinning are vital for ensuring your pieces align properly during assembly. Utilize fabric chalk or a marking pen to indicate stitch lines and cutting paths, as they’re easy to remove later. For pinning, choose heavy-duty pins designed for thick materials to avoid slippage or misalignment. Pins should be inserted where you plan to sew, creating a clear guide without distorting the leather.
Effective marking and pinning streamline the sewing process by providing a blueprint for your project. Using tailor’s chalk or a similar marking tool ensures you have clear, visible lines that won’t wash away, while specialty pins designed for leather minimize the risk of leaving permanent holes. Placing pins at intervals of about 1 to 2 inches can create stability; however, avoid their placement directly in the seam line to facilitate smooth stitching. Proper preparation through these techniques results in a well-aligned and professional-looking finished product.
Pro Tips for Seamless Leather Projects
- Choose the right needle for your leather type.
- Use foot pedal control for consistent speed.
- Decrease tension to prevent fabric bunching.
- Invest in a walking foot for effective material handling.
- Test stitches on scraps before starting.
This will elevate your leather projects and ensure a clean, professional finish.
Best Practices for Smooth Feeding and Stitching
Smooth feeding and stitching rely on the right setup; always adjust your presser foot pressure and ensure your feed dogs are properly engaged. Use a Teflon foot if you experience slippage, and maintain consistent speed to create an even stitch. Work with thicker threads to fit heavier leather, and always test on leftover leather to avoid any surprises.
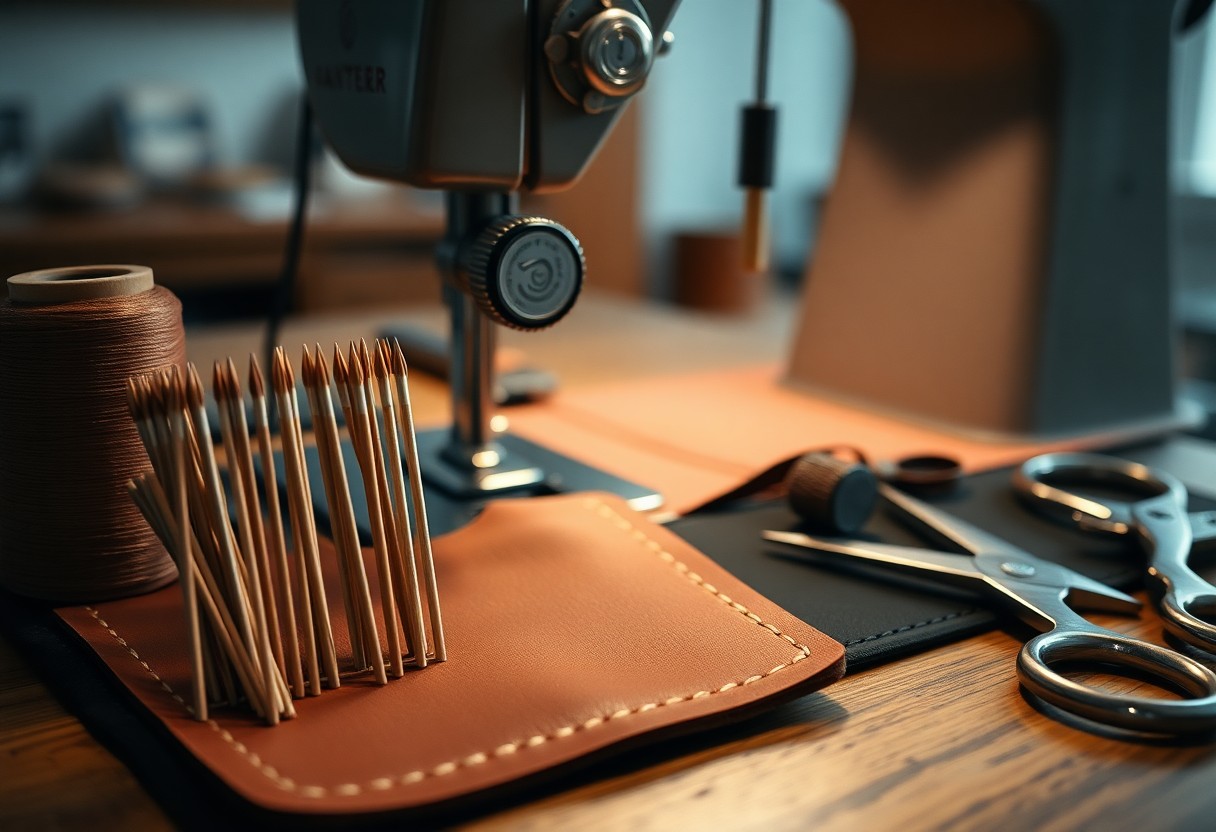
Tricks for Handling Thick Leather Layers
When navigating through thick leather layers, utilize a leather needle and a heavier weight thread to ensure durability. Take your time when stitching to avoid skipped stitches, and consider using a roller foot for smooth feeding. Utilizing the right stitch length is key, as longer stitches can ease the strain on your machine while providing adequate support for the leather.
Handling thick leather layers requires some strategic approaches. Always cut your pieces accurately to minimize bulk, ensuring the edges are even. A properly adjusted sewing machine and a powerful motor will help manage multiple layers effectively. Don’t hesitate to lift your presser foot occasionally to allow the material to settle, and use clips rather than pins to avoid damaging the leather. Keeping everything relaxed and well-fed will ultimately lead to a more successful project.
Troubleshooting Common Problems
Even with the right tools and techniques, issues can arise while sewing leather. Addressing these common problems early can save you time and material. Thread breakage, skipped stitches, and leather puckering are frequent headaches for DIYers. Taking time to review machine settings, needle choice, and feeding mechanisms will enhance project quality and outcomes.
Identifying and Fixing Stitching Issues
Stitching issues often manifest as uneven or skipped stitches, usually caused by an inappropriate needle or incorrect tension settings. Check your needle to ensure it’s suitable for leather, typically a heavier size 90/14 or 100/16. Adjust the tension incrementally, and conduct a test stitch on scrap leather to achieve the desired outcome before moving on to your project.
How to Prevent Damage to Leather
Protecting your leather during the sewing process is necessary to maintain its beauty and integrity. Use a walking foot to evenly feed the leather, avoiding scratches or dents. Always place a layer of fabric under the leather to prevent scorching from the machine’s plate, and ensure your workspace is clean to avoid dirt and debris damaging the surface.
Investing in a walking foot is a game changer when it comes to protecting leather. This attachment controls the upper layer’s feed, creating smooth movement alongside the feed dogs, preventing slips that could lead to misaligned seams. Always place the leather on a clean, flat surface to avoid contamination. Additionally, using a pressing cloth when ironing can prevent direct heat contact, protecting the leather’s finish and maintaining its quality.
To wrap up
Upon reflecting, you should now feel equipped to tackle sewing leather at home with confidence. By understanding the right machine settings, choosing appropriate needles, and applying expert tips, you can achieve professional results in your projects. Ensure to select the proper stitch length and tension to suit leather’s unique characteristics, and don’t hesitate to practice with scrap pieces before venturing into your main project. With these strategies, your leather sewing endeavors will not only be successful but also fulfilling.
FAQ
Q: What sewing machine settings should I use for leather?
A: For sewing leather, set your sewing machine to a medium to high stitch length (around 3-4 mm). Use a straight stitch or a zigzag stitch depending on the project. Adjust the tension to a medium setting for best results. Ensure that your presser foot is set to a slightly higher pressure for better fabric feed.
Q: What type of needles are best for sewing leather?
A: Use leather needles, which have a wedge-shaped point designed to pierce through leather without tearing it. Size 90/14 or 100/16 needles are typically suitable for medium to heavy leather. Always check the specific needle type recommended for your leather thickness.
Q: What are some pro tips for sewing leather at home?
A: Use a roller presser foot or Teflon foot to help the leather glide smoothly through the machine. Test stitching on a scrap piece of leather before starting your project. Avoid pinning leather; instead, use clips or double-sided tape to secure layers. Keep your sewing area clean to prevent dirt and oil from staining the leather.