Sewing can be a rewarding hobby, but the frustration of tangled thread can quickly dampen your enthusiasm. In this tutorial, you will learn step-by-step how to properly thread your sewing machine, ensuring that it runs smoothly and efficiently. By following these clear instructions, you can avoid common pitfalls that lead to unnecessary thread jams and enhance your sewing experience. Get ready to take control of your sewing projects with confidence and eliminate the hassle of tangled threads once and for all.

The Anatomy of a Sewing Machine
A sewing machine is a complex assembly of parts that work in unison to create stitches. Understanding its anatomy not only enhances your sewing experience but also equips you with the insights necessary for troubleshooting threading issues. Each component plays a significant role, from the bobbin case to the needle, and knowing their functions helps you maintain and operate your machine effectively.
Essential Components that Impact Threading
Key components like the spool pin, tension dial, and needle eye profoundly affect threading efficiency. The spool pin holds the thread spool securely while the tension dial controls the thread’s tightness, which directly impacts stitch quality. A properly selected needle not only accommodates your thread type but also influences how smoothly it glides through the fabric, reducing the likelihood of tangles.
Understanding the Thread Path: From Spool to Needle
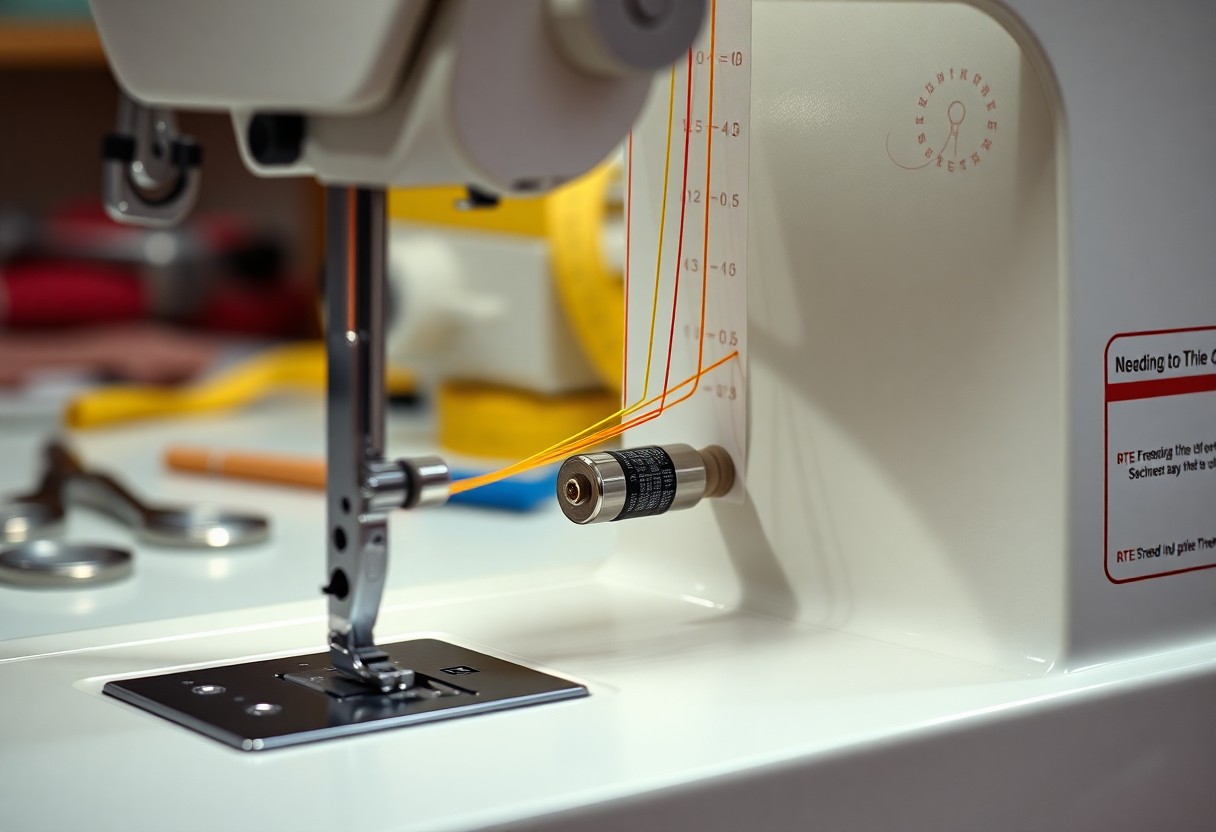
Your sewing machine has a designated thread path that guides the thread from the spool through various components to the needle. Following this specific route is imperative for achieving smooth, even stitches. Each machine may vary slightly, but generally, the thread travels from the spool to the tension discs, through a series of guides, and finally arrives at the needle eye, ready to engage with the fabric.
To effectively navigate this thread path, you must first ensure that the spool is placed correctly, allowing the thread to unwind freely. Next, you’ll guide the thread through the tension discs, which control the thread’s tightness, ensuring it isn’t too loose or tight. Carefully follow the machine’s threading diagram, typically printed on the machine itself, to route the thread through any additional guides and finally through the needle eye. Each step is designed to prevent tangling while allowing the thread to flow smoothly, enhancing your sewing experience with every stitch.
Techniques for Flawless Threading
Perfect threading ensures smooth operation and precise stitching. Mastering the techniques can greatly enhance your sewing experience. Focus on understanding your machine’s threading diagram and familiarize yourself with each component to thread with confidence. Precision at each step prevents tangles and ensures your thread feeds correctly through the needle and bobbin.
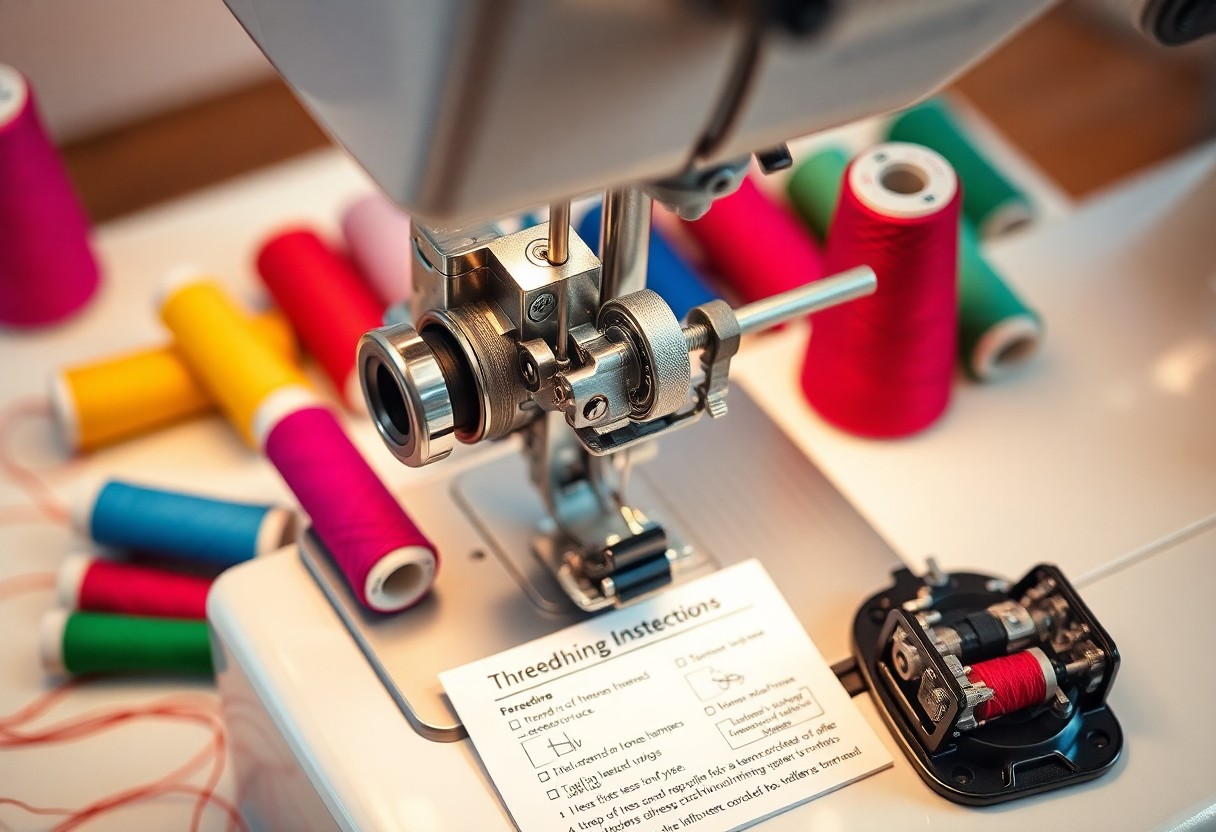
Step-by-Step Threading Process: Visual Guidance
This streamlined process will guide you through threading your machine with visual clarity. Follow these steps:
Threading Steps
| 1. Raise the presser foot and spool. | 2. Guide the thread through the tension discs. |
| 3. Thread the take-up lever from right to left. | 4. Insert the thread through the needle from front to back. |
| 5. Pull the thread to ensure proper tension. | 6. Position the bobbin correctly in the case. |
Common Pitfalls: Avoiding the Most Frequent Mistakes
Many sewers face challenges due to threading errors. Common mistakes include improper tension adjustments and overlooking the threading path. Skipping steps or misplacing the thread can lead to skipped stitches or jamming. It’s important to follow the manufacturer’s threading diagram to avoid these issues.
One frequent mistake is not ensuring that the thread is seated correctly in the tension discs. This oversight can cause inconsistent stitches and can lead to thread breaking. Additionally, threading the needle improperly is another danger; if not done correctly, it can result in frustration and wasted fabric. Staying mindful of these pitfalls helps maintain a smooth sewing session and enhances the quality of your projects.
Troubleshooting Tangled Threads
Tangled threads can disrupt your sewing experience and lead to frustration. Knowing how to troubleshoot these issues quickly allows you to get back to creating without a hitch. Regularly checking your machine and following best practices for threading can prevent most tangles from occurring. If you encounter problems, don’t panic; there are effective methods to resolve them swiftly.
Identifying Causes of Thread Snags and Breakages
Thread snags and breakages often result from several factors, including poor quality thread, incorrect tension settings, or improper threading. Factors like a worn-out needle, incompatible thread types, or added lint in the tension discs can exacerbate these issues. Observing the machine’s behavior can provide clues, such as uneven stitches indicating tension problems or frequent breaks signaling a need for maintenance.
Practical Solutions to Common Threading Problems
Addressing common threading problems begins with ensuring you use the correct thread type and needle size for your fabric. Adjusting tension settings can resolve snags, while cleaning lint buildup in the machine prevents thread breakage. Rethreading your machine in the correct order is also crucial, as improperly threaded machines often lead to tangled threads.
To implement these solutions effectively, start by using high-quality thread designed for your sewing machine. Check the needle for damage and replace it if it’s dull or bent. Adjust your tension settings incrementally, testing with scrap fabric as you go. In addition, make cleaning your machine a routine task; using a soft brush can help clear lint from crucial areas. Consistent maintenance and attention to detail in your threading process will significantly enhance your experience and reduce the likelihood of tangles.
Maintaining Your Sewing Machine for Smooth Operation
Regular maintenance of your sewing machine enhances its performance and longevity. Keeping your machine clean and well-lubricated minimizes friction and prevents thread jams. Schedule cleaning sessions after every few projects or when you notice a decrease in performance. This practice not only saves you time but also ensures high-quality stitching, allowing you to focus on your creative endeavors.
Routine Maintenance Tips to Prevent Thread Issues
Adhering to routine maintenance will greatly reduce threading problems. Clean lint and debris from your machine regularly, and adjust the tension settings as needed.
- Regularly clean the bobbin area to remove dust.
- Lubricate moving parts with oil specifically designed for sewing machines.
- Check for broken needles or damaged thread before starting a project.
This consistent upkeep keeps your machine operating smoothly for flawless sewing.
Essential Tools and Supplies for Optimal Thread Performance
Investing in the right tools and supplies enhances thread performance and minimizes complications. You’ll need a variety of needles, high-quality thread, and cleaning brushes to maintain your machine effectively. Additionally, thread lubricants can also assist in preventing tangles, ensuring smooth gliding through the fabric. A well-stocked sewing kit is vital for quick fixes and ongoing maintenance.
Having the right tools at hand not only streamlines the sewing process but also boosts your confidence in handling threading issues. Quality needles, such as universal or specialty needles suited for different fabrics, can significantly improve your results. A selection of thread types—like polyester for durability or cotton for natural fibers—ensures you’re prepared for any project. A dedicated cleaning kit with brushes and oil designed for sewing machines helps maintain your machine’s interior, preventing buildup that could lead to threading problems. Investing time in acquiring these supplies pays off in improved sewing experiences and results. This level of preparation will empower you to tackle any sewing challenge with ease.
Mastering Advanced Threading Techniques
Advanced threading can elevate your sewing projects significantly. Understanding and applying these techniques will allow you to tackle more complex fabrics and achieve greater precision in your work. Here are key techniques to master:
- Utilizing a needle threader for efficiency
- Thread tension adjustments for different fabrics
- Employing specialty threads like metallic or elastic
- Implementing a walking foot for layered materials
- Configuring for double needles in decorative stitching
Exploring Different Thread Types and Their Uses
Each thread type serves a specific purpose and can vastly improve your sewing outcomes. Understanding cotton, polyester, and silk threads, along with when to use them, is imperative for optimal results in your sewing projects.
| Thread Type | Uses |
| Cotton | Ideal for quilting and general sewing |
| Polyester | Best for clothing and stretchy fabrics |
| Silk | Perfect for delicate fabrics and hand sewing |
| Nylon | Used for heavy-duty projects and outdoor fabrics |
| Embroidery | Designed for decorative stitching and embellishments |
- Thread Type: Different types have distinct applications.
- Materials: Consider fabric compatibility.
- Color: Choose shades that match or contrast.
- Tension: Adjust for optimal stitching.
- Application: Use tailored threads for projects.
Perceiving the nuances of thread types is key to achieving professional results in your sewing endeavors.
Techniques for Specialized Sewing Projects: Twin Needle and Beyond
Using a twin needle expands your creative sewing options, allowing for parallel rows of stitching. You can create decorative hems or pintucks with ease. This technique requires specific needle settings and dual spools of thread. It’s imperative to adjust your machine’s settings accordingly to accommodate the twin needle, ensuring both threads are threaded accurately. Additionally, experimenting with different stitch types can add unique effects to your projects.
Exploring specialized techniques such as using a twin needle opens new avenues for creativity in your sewing projects. Whether you are looking to enhance the aesthetics of your work with decorative stitches or seeking more functional applications like hem finishing, mastering this technique is invaluable. It is advisable to practice with scrap fabric to get accustomed to the feel of sewing with two threads. Incorporating appropriate tensions and stitch settings is vital to achieving the best results. Overall, these specialized techniques not only enhance your skills but also enrich the quality and visual impact of your sewn items.
Final Words
From above, you have learned the crucial steps to thread your sewing machine effectively, ensuring a smooth and tangle-free experience every time. By following the detailed instructions and tips provided, you can confidently operate your machine without frustration. Mastering this skill will enhance your sewing projects, allowing you to focus on creativity rather than complications. With practice, threading will become a seamless part of your routine, empowering you to achieve successful results in all your sewing endeavors.
FAQ
Q: How do I properly thread my sewing machine?
A: Start by raising the presser foot to release the tension. Place the spool of thread on the spool pin. Following your machine’s threading diagram, guide the thread through the tension discs, around the tension mechanism, and down through the threading path. Insert the thread through the take-up lever and then guide it down to the needle. Lastly, thread the needle from front to back.
Q: What should I do if my thread keeps getting tangled?
A: Ensure the thread is correctly threaded and that the presser foot is up when threading. Check the spool for any snags or tangles, and make sure you are using the correct type of thread for your project. If the issue persists, try changing the needle and adjusting the thread tension settings.
Q: How can I avoid thread bunching up underneath the fabric?
A: This issue often occurs due to improper threading or incorrect tension. First, re-thread your machine and check if the needle is inserted correctly. Use the right needle type for your fabric and adjust the tension to a balanced setting. Additionally, ensure that the bobbin is wound evenly and inserted properly into the bobbin case.