
Over time, mastering the art of threading your Singer 301 can significantly enhance your sewing experience. This guide will walk you through the vital steps to efficiently thread your machine and achieve seamless stitches, ensuring your projects turn out beautifully. Whether you are a novice or an experienced sewer, understanding the mechanics behind the threading process will empower you to tackle any sewing challenge with confidence. Let’s decode the threading process for a smoother sewing journey!
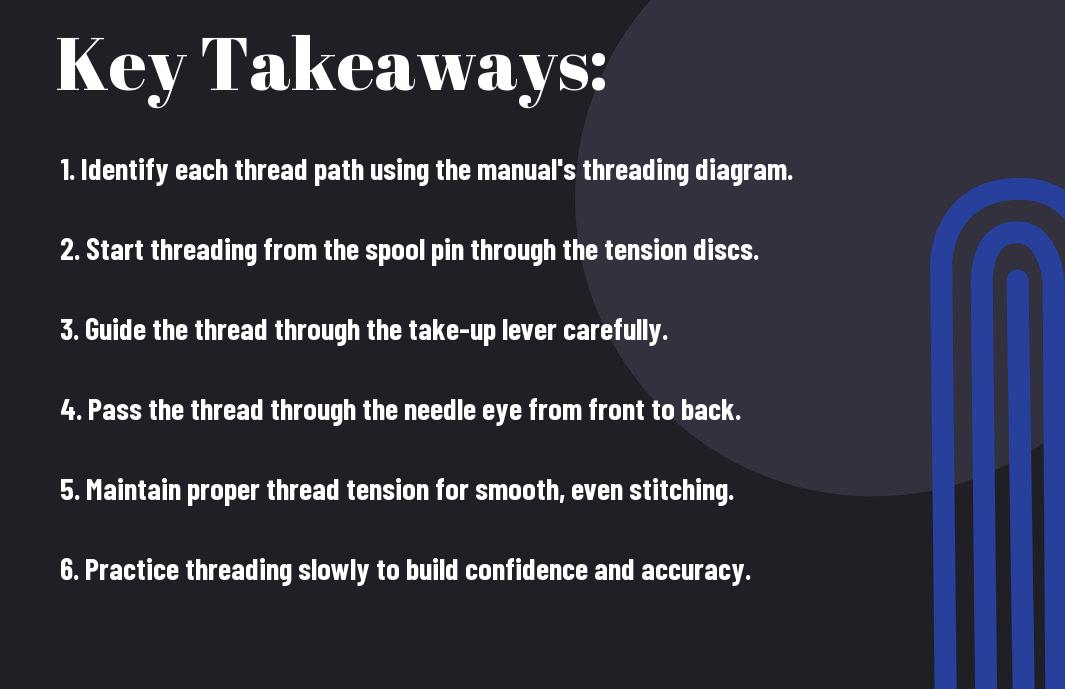
Key Takeaways:
- Familiarize yourself with the different parts of the Singer 301 sewing machine, including the spool pin, thread guides, and tension dial, to streamline the threading process.
- Follow a step-by-step guide or visual diagram that outlines the threading process, ensuring you correctly navigate the thread path for optimal performance.
- Practice and patience are key; take the time to thread the machine slowly and correctly to achieve a seamless sewing experience.
The Anatomy of a Singer 301: Components You Need to Know
Understanding the anatomy of your Singer 301 will empower you to navigate the threading process with confidence. This sewing machine is composed of several key parts, each playing a vital role in facilitating smooth operation and creative expression in your sewing projects. Getting to know these components will help you troubleshoot issues and maximize the efficiency of your machine.
Key Parts and Their Functions
Each component of the Singer 301 serves a specific purpose that enhances your sewing experience. The spool pin holds the thread spool securely in place, preventing it from unraveling. The thread tension dial allows you to adjust the tension for smooth stitching, while thread guides direct the thread through the various parts of the machine. Understanding the function of each component will streamline your sewing and improve your results.
Thread Path Essentials
The thread path consists of several guides and tension points that ensure the thread flows smoothly from the spool to the needle. Familiarizing yourself with this pathway is vital for achieving optimal results in your sewing projects. Each guide directs the thread, while tension points help to maintain an even stitch quality. A well-understood thread path minimizes snags and breaks, allowing for a seamless sewing experience.
Pay attention to the specific sequence of the thread path in your Singer 301. Start by placing the thread on the spool pin, then guide it through the thread guide before moving to the tension dial. Following the prescribed path correctly will keep the thread taut and avoid jamming. Ensure you are threading through the machine in the correct order as outlined in your manual for best results. This keeps the thread under appropriate tension and reduces the chances of unwelcome mishaps while you sew.
Common Threading Mistakes: What to Avoid
Threading your Singer 301 can lead to frustrations if you’re not aware of common mistakes. Many users face issues like thread breakage or uneven stitches, which typically stem from improper threading techniques. Being mindful of these pitfalls can save you time and enhance your sewing experience significantly. From misplacing the thread to overlooking tension settings, getting familiar with these errors will sharpen your skills and ensure a smoother sewing process.
Misplacing the Thread: Identification and Correction
If the thread isn’t placed correctly through the eye of the needle or around the tension discs, you’ll encounter problems such as skipped stitches or fraying. To correct this, double-check your threading path, ensuring the thread follows all necessary guides and is securely placed in the tension mechanism.
Ignoring Tension Settings: Consequences and Solutions
Failing to adjust your tension settings can lead to significant sewing headaches, such as loose stitches or fabric puckering. When the tension is too tight, it can cause the thread to break, while too loose results in gathering. Adjusting these settings according to the thread type and fabric weight can resolve many of these issues.
For instance, using a lightweight thread on a heavier fabric without adjusting the tension will likely cause problems. Instead, check your thread type – for cotton fabrics, a tension setting of 4-5 usually works well, while heavier upholstery materials might require a setting of 6 or higher. Monitoring the tension dial and making incremental adjustments is often the key to achieving balanced seam quality, so don’t hesitate to experiment until you find the perfect fit for your project.
Step-by-Step Guide: Mastering the Threading Process
| Preparing Your Machine for Threading |
Before you start threading, clear your workspace and ensure your Singer 301 is properly set up. Disconnect the power and raise the presser foot to release tension on the thread. This will make it easier to thread the needle and ensure a smooth stitching process. |
| A Visual Walkthrough of the Threading Steps |
Following a visual guide can simplify the threading process significantly. Consult your sewing machine manual for diagrams, or use online resources for videos. Place the spool of thread and follow the designated threading pathway, ensuring you catch each thread guide accurately for optimal performance. |
Preparing Your Machine for Threading
Begin your threading journey by ensuring your machine is in a stable and accessible position. Disconnect the power to avoid accidents, raise the presser foot to release tension, and check that the needle is in the highest position. This preparatory step is crucial to navigate the threading path without obstruction and set the foundation for seamless sewing.
A Visual Walkthrough of the Threading Steps
Utilizing visual aids can significantly enhance your understanding of the threading process. Many sewing machine manuals include detailed diagrams, while numerous online videos provide a step-by-step visual experience. These resources illustrate the necessary actions, including threading the spool, catching the thread in the tension discs, and feeding it through the needle, making the entire process more comprehensible.
When you follow a visual guide, observe how the thread moves through each section of the Singer 301. Pay attention to the routing around the tension discs, and ensure it’s correctly looped over the take-up lever. A clear visual representation can prevent common mistakes, such as misthreading or skipping guides, which often lead to frustrating stitches and thread jams.
Troubleshooting Threading Issues: Fixes for Common Problems
Encountering problems while threading the Singer 301 can lead to frustrating sewing interruptions. Typically, you might experience skipped stitches or broken threads, both of which signal that something’s off in your setup. Identifying the root cause is vital to restoring smooth operation, whether it’s a simple adjustment or a deeper alignment issue. Let’s investigate into common problems together and how to address them efficiently.
Skipped Stitches and Broken Threads: Causes and Remedies
Skipped stitches can often stem from incorrect needle size or insufficient tension. If you’re not using the right needle for your fabric, it can fail to create the needed stitch. On the other hand, a broken thread might indicate worn-out thread or improper threading. In either case, check your thread path and ensure your needle is in good condition and correctly installed.
The Role of Needle Choice and Quality Thread in Performance
Choosing the right needle and using quality thread are key to optimal sewing performance. The needle size impacts your ability to sew different materials; for instance, a larger needle works best with thicker fabrics. Quality thread prevents fraying and breaking, enhancing your sewing experience.
When you opt for high-quality thread that matches your fabric, you significantly reduce the risk of issues such as snagging or breaking. For example, using a lightweight needle with a heavy-duty thread could lead to thread breakage or skipped stitches. The right thread not only improves tension but also provides a smoother glide through the needle, allowing for a flawless stitch on various materials. Investing time in selecting the appropriate needle and thread can save you from frustrating interruptions and improve your sewing quality overall.
Enhancing Your Sewing Experience: Tips for Maintenance and Longevity
To enhance your sewing experience with the Singer 301, invest time in maintenance to ensure its longevity. Regular maintenance not only improves performance but also prolongs the life of your machine. Keep your sewing environment clean and organized.
- Use a proper thread type suitable for your fabric
- Regularly clean the feed dogs and bobbin area
- Change needles frequently to avoid snagging
- Keep the machine lubricated according to the manual
This will ensure a smoother sewing process and maintain functional efficiency.
Routine Maintenance Practices for the Singer 301
Incorporate routine maintenance practices such as cleaning the bobbin area and feed dogs to prevent lint buildup, which can cause stitching issues. Regularly check and replace needles to match the type of fabric you’re working with, and always keep oil on hand for lubrication. Dedicate time weekly to these practices to maintain optimal machine performance.
Selecting Accessories for Optimal Performance
Choosing the right accessories significantly influences the performance of your Singer 301. Quality sewing needles, appropriate presser feet, and compatible thread can make a noticeable difference. Investing in specialized feet, like walking feet or quilting feet, aids in achieving professional-level outcomes. Pairing your machine with high-quality thread reduces breakage and enhances stitch quality, ensuring a smoother sewing experience.
Final Words
Hence, by familiarizing yourself with your Singer 301’s threading path, utilizing the manual for guidance, and practicing step-by-step, you can simplify the threading process significantly. Take your time and refer to instructional videos if needed; soon, you’ll thread your machine effortlessly, paving the way for seamless sewing projects. With a little patience and practice, you’ll become confident in managing your sewing machine with ease.
FAQ
Q: What materials do I need to effectively thread a Singer 301 sewing machine?
A: To successfully thread your Singer 301, you will need:
– Your Singer 301 sewing machine,
– Standard sewing thread (usually all-purpose polyester or cotton),
– Scissors for cutting thread,
– A spool cap to hold the thread in place,
– Optional: a needle for sewing that is compatible with the fabric you plan to use. These items will help ensure a smooth threading process and optimal sewing experience.
Q: What are the step-by-step instructions for threading the upper part of the Singer 301?
A: To thread the upper part of the Singer 301, follow these steps:
1. Place your chosen thread spool on the spool pin and secure it with a spool cap.
2. Guide the thread through the thread guide located at the top of the machine.
3. Bring the thread down through the tension discs, ensuring it’s seated properly for even tension.
4. Follow the threading path and loop the thread through the take-up lever.
5. Finally, guide the thread down to the needle area, threading it through the needle’s eye from front to back. Make sure to pull some thread through to avoid complications when you start sewing.
Q: How can I troubleshoot common threading issues with the Singer 301?
A: If you encounter problems while threading your Singer 301, consider the following troubleshooting tips:
1. Check if the needle is correctly installed and not bent, as a damaged needle can affect threading.
2. Ensure that the thread is correctly passed through all necessary guides and tension discs without tangling.
3. Verify that the thread spool is loaded correctly; if it unwinds unevenly, it can cause issues.
4. If the thread is not feeding smoothly, rethread the machine to confirm that all threading guidelines are followed as per the manual.
5. Lastly, if the machine is still malfunctioning, consult the user manual or seek professional assistance for more advanced issues.