
Many sewing enthusiasts find that threading their Singer 301 can be a challenging task without the right guidance. In this post, you’ll discover vital tools and techniques that will simplify the process and ensure smooth operation of your machine. From choosing the right thread and needles to mastering the threading sequence, these tips will help you enhance your sewing experience and avoid potential mishaps. Get ready to probe a world of effortless sewing!
Key Takeaways:
- Familiarize yourself with the machine’s threading path, ensuring that each guide and tension disc is correctly utilized for smooth operation.
- Utilize a thread stand if needed, especially when using larger spools, to prevent tangling and ensure consistent threading.
- Practice threading the machine step-by-step with both the needle and bobbin threads to build confidence and efficiency.
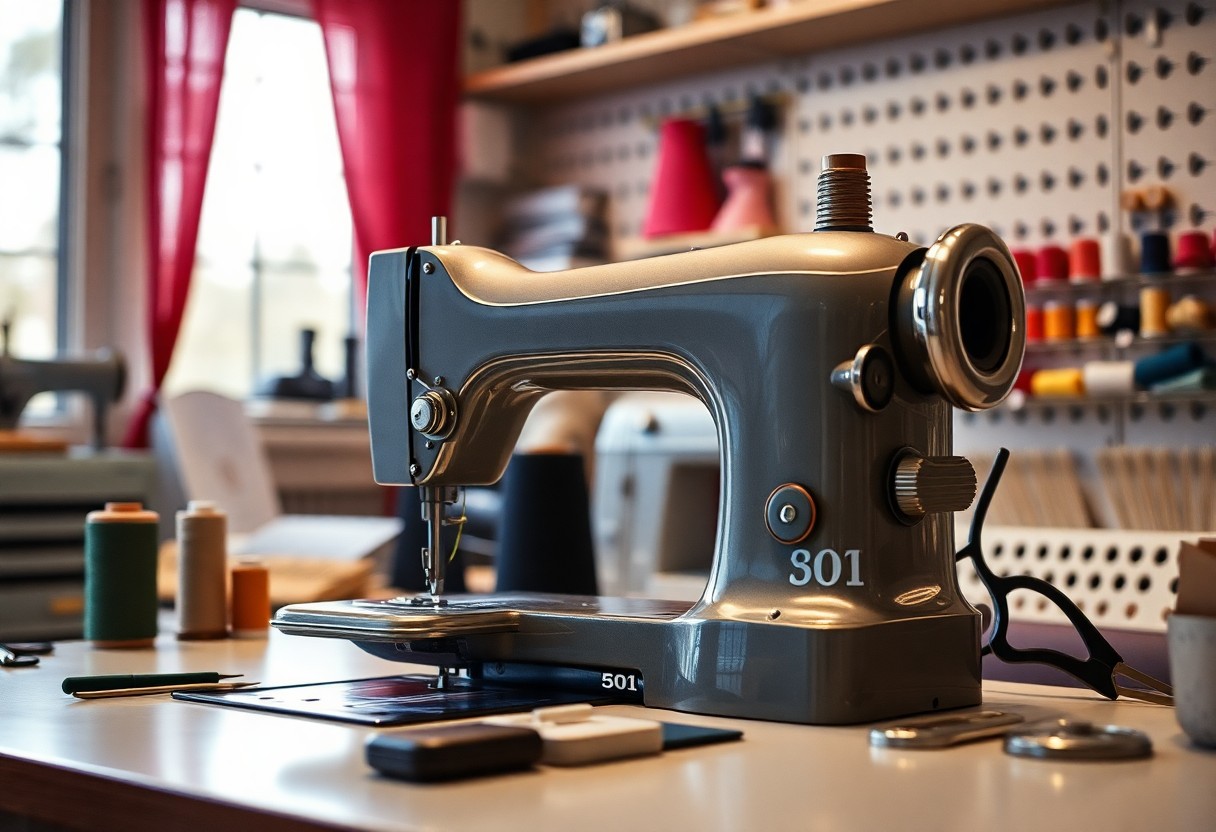
Mastering the Basics: Key Components of the Singer 301
Understanding the key components of your Singer 301 is necessary for mastering its threading. Familiarizing yourself with the machine’s structure not only enhances your sewing experience but also boosts your confidence in troubleshooting any issues that may arise. You’ll discover how each part contributes to the seamless operation of this classic sewing machine.
Identifying the Essential Parts
Recognizing the necessary parts of the Singer 301, such as the spool pin, tension discs, and needle plate, simplifies the threading process. Each component interacts to create a harmonious sewing experience, ensuring that your threads glide effortlessly through the machine. By learning the function of each part, you position yourself to become a more proficient sewist.
Understanding Threading Paths
Every sewing machine has specific threading paths that guide the thread through its various mechanisms. The Singer 301 is no exception, offering a well-designed route that reduces the chances of tangles and misalignment. Following the designated paths correctly allows the thread to flow smoothly while maintaining consistent tension across stitches.
The threading path on your Singer 301 typically starts at the spool pin and progresses through the tension discs, down to the needle, and into the bobbin compartment. Understanding this specific path is vital; each segment plays a role in maintaining the correct tension and stitch formation. If the thread bypasses any component, you may experience issues such as uneven stitches or threading jams. Visual guides often included in your machine’s manual can help illustrate these paths, making it easier for you to understand and successfully implement them. Familiarizing yourself with these paths ensures your sewing projects turn out perfectly every time.
Preparing for Success: Necessary Supplies
Setting yourself up for success involves gathering the right supplies before delving into threading your Singer 301. A smooth process starts with understanding what materials and tools you need on hand to make your threading easier and more efficient.
Selecting the Right Thread
Your choice of thread plays a significant role in achieving the best results. Opt for a thread that matches the fabric type, whether it’s cotton, polyester, or specialty options like silk or metallic threads. Each type offers different strengths and characteristics, so ensure you select a high-quality thread that complements your sewing project.
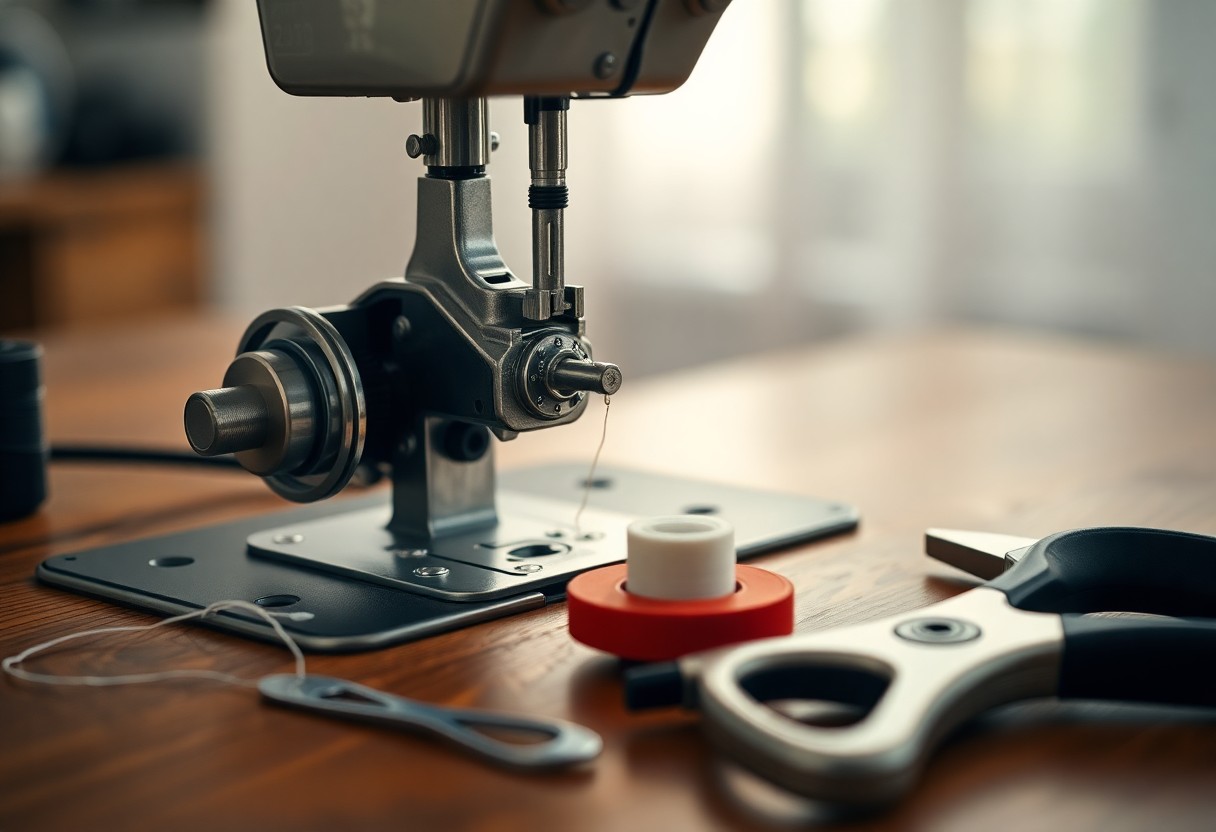
Gathering Your Tools
To thread your Singer 301 effectively, gather imperative tools that can simplify the process. You’ll need sharp scissors, a seam ripper, tweezers, and a spool cap. These tools not only help in threading but also in maintaining your machine and ensuring clean finishes on your projects. Having everything within arm’s reach means you can focus on threading without unnecessary interruptions, allowing for a more fluid and enjoyable experience. Don’t forget to include a needle appropriate for your fabric type, as using the correct needle can significantly enhance your sewing performance.
The Step-by-Step Threading Technique
Following a systematic approach makes threading your Singer 301 less daunting. Start by gathering your supplies, including the correct thread type and a clean workspace. The table below breaks down the threading process into manageable steps, ensuring you won’t overlook anything critical.
| Step | Action |
|---|---|
| 1 | Raise the presser foot and ensure the needle is at its highest position. |
| 2 | Thread the upper tension mechanism by following the guides on your machine. |
| 3 | Bring the thread down through the needlebar and through the needle itself. |
| 4 | Insert the bobbin into its case, ensuring it turns counterclockwise when pulled. |
| 5 | Pull the bobbin thread up and out through the needle plate. |
Detailed Instructions for Threading the Needle
To thread the needle, pull the thread from the spool and guide it through the tension discs located on the machine. Once through, thread it down the needlebar, ensuring it passes through the take-up lever. Finally, hold the needle steady, and insert the thread through the needle’s eye from front to back, utilizing a needle threader if necessary for precision.
Ensuring Proper Bobbin Setup
Bobbin setup significantly impacts the sewing process. Place the bobbin into its case with the thread unwinding counterclockwise. This direction ensures proper tension and smooth sewing, as an incorrectly wound bobbin can create jams or skipped stitches. Pull the bobbin thread through the needle plate and position it to engage with the upper thread.
If bobbins aren’t properly set up, issues like erratic stitching or even machine jams can arise. Ensuring the bobbin thread lays correctly within the bobbin case is vital. After inserting the bobbin, you should gently pull the thread to check for tension; it should feel firm but not overly tight. Make adjustments as necessary before commencing your sewing project, ultimately allowing for a seamless experience with your Singer 301.
Troubleshooting Common Threading Issues
Even with the right tools and techniques, you may encounter threading issues with your Singer 301. Identifying and resolving these challenges can save you time and frustration. By understanding the common problems such as thread tension inconsistencies, snags, and jams, you can easily get back to sewing without the hassle. Let’s tackle these issues one by one, so you can sew with confidence.
Diagnosing Thread Tension Problems
Thread tension can significantly impact your sewing quality. If your stitches appear loose or too tight, you likely have a tension issue. Start by checking the threading path; ensure that the thread is correctly placed in the tension discs. Also, examine your bobbin case for proper placement—incorrect positioning can slip it out of adjustment. Adjusting the tension dial according to your fabric type may solve the problem, allowing for a balanced stitch tension in your projects.
Fixing Thread Snags and Jams
Thread snags and jams are annoying but can often be easily fixed. Begin by lifting the presser foot to relive thread tension, which allows for smoother threading. Next, inspect the threading path for any obstructions or tight spots. Make sure that the thread is passing through all necessary guides without being twisted or caught. Don’t forget to check the bobbin area for any loops or misalignments that could cause snags.
To effectively fix thread snags and jams, ensure that you clean the bobbin case regularly. Dust and fabric lint can accumulate, causing threads to catch. You can use a small brush or compressed air to clear away debris. If you still encounter issues, consider rethreading your machine completely, as even a slight misalignment can lead to frustrating snags. Practicing regular maintenance and immediately addressing any threading discrepancies will help keep your Singer 301 running smoothly.
Maintaining Your Singer 301 for Optimal Performance
To keep your Singer 301 running smoothly and prolong its life, regular maintenance is key. This includes routine cleaning, oiling, and ensuring that all parts remain in good working condition. Taking a proactive approach to maintain your sewing machine can significantly enhance its performance, ultimately making your sewing experience more enjoyable and productive.
Routine Cleaning and Care Techniques
Routine cleaning involves removing dust and lint from the machine, particularly around the feed dogs and bobbin area. Use a soft brush to gently sweep away debris and a damp cloth to wipe down the exterior. Regularly check and replace the needle as needed, and don’t forget to oil the machine according to the manufacturer’s guidelines to keep the moving parts lubricated.
Best Practices for Longevity
Implementing best practices for longevity includes using quality threads and fabrics to minimize wear on your machine. Avoid forcing the fabric through the machine, as this can damage the stitching mechanism. Additionally, always store your machine in a dust-free environment and cover it when not in use to protect it from environmental factors that could lead to deterioration.
Ensuring you use high-quality threads, like those specifically designed for your fabric type, can reduce strain on the machine and produce superior results. Always initiate sewing at a moderate speed to prevent unnecessary tension on the mechanism, as sudden or excessive force can lead to misalignment or breakage. Regularly checking for loose screws or worn components extends the life of your Singer 301, making these practices vital for optimal performance.
Conclusion
Taking this into account, successfully threading your Singer 301 can enhance your sewing experience significantly. By utilizing the vital tools and techniques outlined in this guide, you can streamline the process and minimize frustration. Whether you are a beginner or an experienced sewist, mastering the threading method will empower you to tackle any project with confidence. With practice, you’ll find that threading your machine becomes a quick and easy task, allowing you to focus on your creativity and enjoy the art of sewing.
Q: What are the basic tools required for threading my Singer 301 sewing machine?
A: To thread your Singer 301, you will need a few imperative tools. Firstly, a pair of small scissors is helpful to trim your thread ends. Additionally, it’s advisable to have a seam ripper on hand for any adjustments or corrections you might need to make. You may also want to use tweezers, which can assist in guiding the thread through smaller openings. Lastly, ensure you have the sewing thread and bobbins that are compatible with your machine for a seamless threading process.
Q: What are the key techniques for threading the needle on a Singer 301?
A: Threading the needle on a Singer 301 can be accomplished smoothly by following a few straightforward techniques. Start by raising the needle to its highest position using the hand wheel. Next, place the thread spool on the spindle and guide the thread through the tension disc, making sure it is properly seated. Then, follow the threading path indicated on the machine, which typically includes a series of guides. Finally, use the automatic needle threader feature, if available, or manually thread the needle by bringing the thread down through the eye. This method streamlines the process and minimizes frustration.
Q: How do I troubleshoot common threading problems with my Singer 301?
A: If you encounter threading issues with your Singer 301, there are a few troubleshooting steps to consider. First, ensure that the thread is correctly seated in the tension disc and follows the appropriate threading path. If the thread keeps breaking or tangling, it could be a sign that the thread is either old or unsuitable for your machine. Additionally, check if the needle is properly inserted and not damaged; a worn needle can cause various sewing problems. Lastly, if you notice the bobbin thread is not catching, it might be worth re-threading the bobbin or ensuring it is placed correctly in its case. Following these steps should help resolve common threading problems.