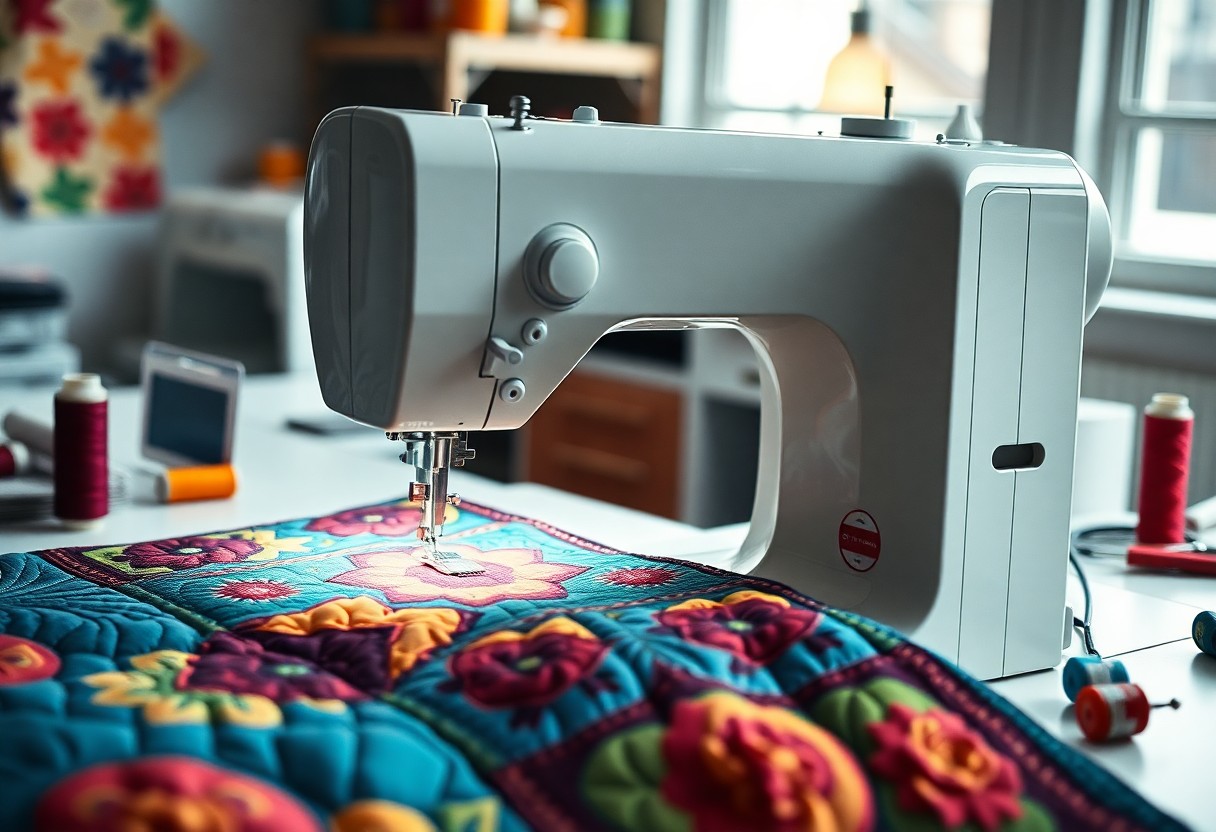
Quilting can be a rewarding experience, and with this tutorial, you’ll learn how to master free motion quilting using your regular sewing machine. You’ll discover the imperative tools needed, the correct settings to adjust, and tips to enhance your technique, ensuring you produce stunning designs. With practice, you’ll gain confidence and skill, transforming your quilting projects into intricate works of art. This guide is designed to empower you, so grab your machine and let’s get started on this creative journey!
Transforming Your Regular Sewing Machine
Converting a regular sewing machine into a free motion quilting tool is simpler than you might think. Start by removing the feed dogs, which can often be done with a switch or by installing a plate. You’ll then need an appropriate free motion quilting foot that allows for greater visibility and control as you stitch. This transition opens up a world of creative possibilities, allowing you to explore intricate designs with ease.
Equipment You Didn’t Know You Needed
Investing in a few specialized tools can enhance your free motion quilting experience. Tools such as quilting gloves improve grip and control, while a quilting ruler helps maintain straight lines and shapes. Additionally, using a solid thread meant for quilting can prevent breaking and ensure a professional finish. These accessories, often overlooked, can significantly impact your overall finesse and progression in quilting.
Setting Up for Success: Proper Adjustments
Achieving the best results in free motion quilting requires specific machine adjustments. You need to lower the presser foot pressure, which provides the right balance between the fabric movement and stitch quality. Adjust the stitch length to zero, enabling free movement of fabric under the needle. Lastly, be sure to test and adjust the tension until you find the perfect balance that prevents looping or skipped stitches.
Lowering the presser foot pressure is vital, as it allows your fabric to glide freely without undue pressure. A tension setting that’s too tight can cause puckering, while too loose will lead to thread breaks. Conduct test runs on scrap fabric to fine-tune your settings. This experimentation not only builds your confidence but also helps you discover the ideal adjustments for different fabrics and techniques, ultimately enhancing the quality of your quilting projects.
Mastering the Basics: Stitches and Techniques
This section focuses on developing a solid foundation in free motion quilting techniques and stitches, which are important for creating beautiful quilted designs. Familiarity with different stitches and mastering your machine’s capabilities will elevate your quilting experience. From simple loops to intricate motifs, understanding each stitch’s purpose and application will enhance your creativity and confidence on the sewing machine.
Essential Free Motion Stitches Every Quilter Should Know
Starting with basic stitches like the meandering stitch, which offers a quick and forgiving way to fill areas, you’ll also explore the zigzag and echo stitching techniques. These foundational stitches not only provide texture but also form the basis for more complex designs. Each stitch serves a unique function in enhancing the overall look of your quilt, enabling you to express your artistic vision.
Building Confidence: Practice Exercises for Beginners
Engaging in practice exercises designed for beginners is vital for gaining fluency in free motion quilting. Simple tasks, such as drawing loops or constructing spirals, help build muscle memory and allow you to focus on machine control without pressure. As you continue to practice, you’ll develop a sense of rhythm and confidence, enabling you to tackle more intricate designs in no time.
Start with a 12×12 inch piece of fabric and practice creating loops, spirals, and straight lines, repeating each for 10 minutes. Use contrasting thread colors to easily identify your stitches as you quilt. Gradually increase complexity by combining different shapes, transitioning from small, simple motifs to larger, elaborate designs. This hands-on method reinforces your skills and prepares you for future quilting projects with greater ease and assurance.
Creative Designs to Elevate Your Quilting
Unlock your potential with creative designs that transform your quilting projects. Elevating your quilts requires experimenting with a variety of patterns and styles, allowing you to add depth and interest. From intricate motifs to bold geometric shapes, embracing diverse designs can significantly enhance the visual appeal of your fabric creations. Take the time to practice and explore, and you’ll discover new dimensions in your quilting journey.
Exploring Pattern Ideas: From Simple to Complex
Start with simple patterns like loops or meandering lines, gradually introducing complexity with flowers or feathers as your skills improve. Many quilters find joy in layering shapes or even combining different quilting techniques for unique effects. Keep a sketchbook handy to brainstorm and visualize your ideas, making adjustments as you go. Exploring various patterns will help you understand what resonates with your style.
Incorporating Personal Style: Tips for Unique Creations
Your quilts become a true reflection of your personality when you focus on incorporating your personal style. Embrace your favorite colors, textures, and themes, whether whimsical, traditional, or contemporary. Consider adding personalized elements like initials or specific motifs that hold meaning for you, enriching the storytelling aspect of your quilts. Experimenting with different techniques while staying true to your aesthetic will yield truly unique pieces.
- personal style
- unique creations
- incorporating elements
Capturing your personal style elevates your quilts beyond simple crafts. Consider using individual colors that speak to you, or choose fabrics with unique textures. Incorporating distinctive patterns or themes from your life makes the quilting process more meaningful. You might also want to try personalized quilting techniques like free motion stitching on appliqué designs, adding another layer of creativity. Any unique touches you add will make your quilts one-of-a-kind.
- individual colors
- unique textures
- personalized quilting techniques
Troubleshooting Common Pitfalls in Free Motion Quilting
Even experienced quilters encounter hiccups during free motion quilting. Problems such as skipped stitches, thread breakage, or puckering can disrupt your flow and affect the final product. Identifying the source of these issues involves checking tension settings, needle type, and even your quilting posture. Understanding these common pitfalls and learning how to navigate them will enhance your quilting experience and help produce beautiful results.
Identifying and Solving Stitching Issues
Skipped stitches can happen due to improper needle selection or incorrect tension. Ensure you’re using the right needle for your fabric weight; for example, a larger needle often works better with thicker materials. Adjusting the tension settings on your machine can also remedy inconsistent stitches. Try testing your settings on a scrap piece before committing to your quilt.
Adjustments for Fabric Variations and Machine Behavior
Different fabrics require specific adjustments in both tension and speed. For instance, stretchy materials like knits benefit from a lower tension to prevent puckering, while stiffer fabrics may need higher tension for clean stitches. Additionally, your machine’s responsiveness can change based on the fabric’s thickness; slower speeds often produce better results, especially when moving through dense layers.
For example, when working with silk or other delicate fabrics, reduce the speed to maintain control and avoid unintentional skips. If using thicker quilts, consider using a walking foot for layers but switch back to free motion when detailing. Getting to know how your specific machine reacts to fabric types will allow you to fine-tune settings effectively, ensuring consistent results regardless of your material choice.
Beyond the Basics: Advanced Techniques for Experienced Quilters
Taking your free motion quilting skills to the next level involves mastering advanced techniques that add unique flair to your projects. You can experiment with methods that create intricate designs and textured effects, pushing the boundaries of your creativity. These advanced skills challenge traditional quilting notions, allowing you to discover new avenues in your quilting journey.
- Mixing thread types for texture
- Utilizing different needle sizes
- Creating three-dimensional effects
- Incorporating stencils and templates
- Layering for depth and dimension
| Technique | Description |
|---|---|
| Shading | Creating gradients with varying thread colors. |
| Echo Quilting | Stitching around a design to enhance its visibility. |
| Yarn Couching | Adding texture by stitching yarn onto the quilt. |
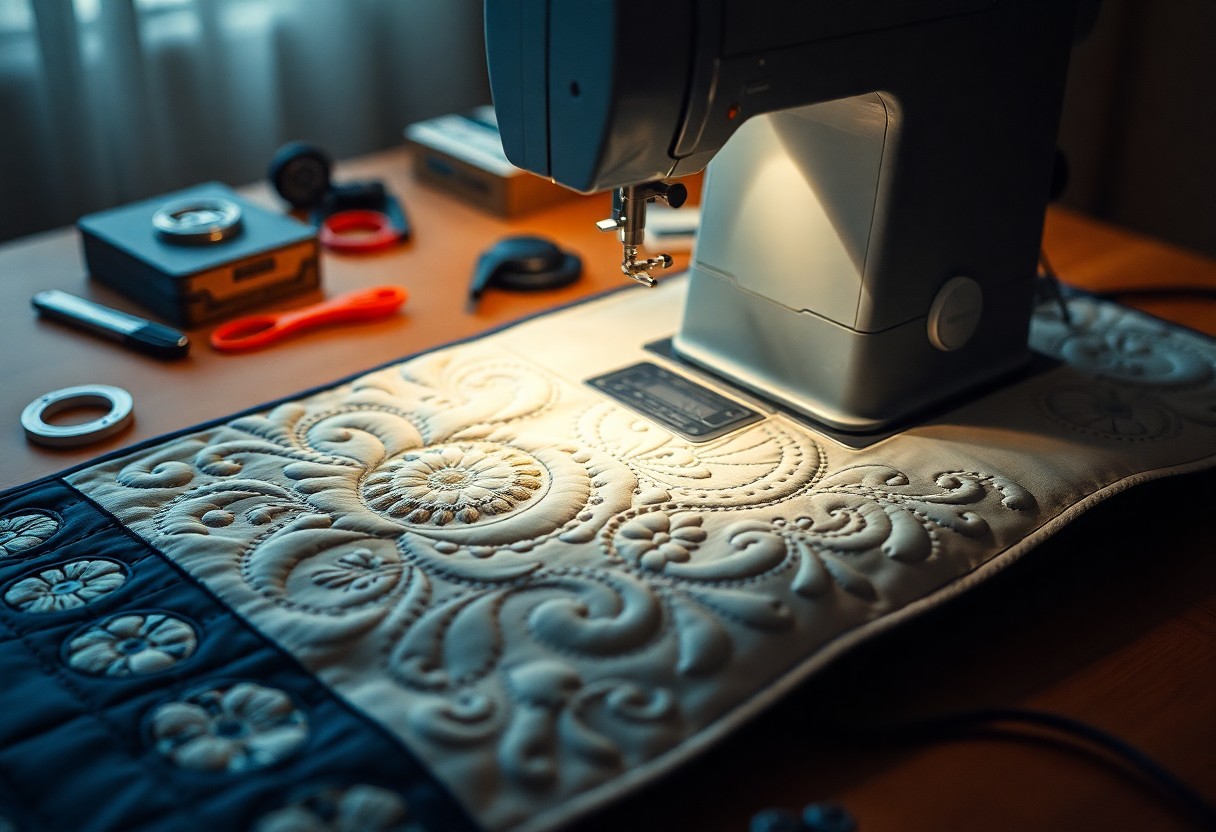
Layering Techniques for Dimension and Depth
Utilizing layering techniques enhances the visual appeal and texture of your quilts. Employ batting and fabric layers creatively to achieve a three-dimensional effect. You can also incorporate trapunto techniques, providing an additional layer of padding behind select areas of your quilt. These methods allow you to create stunning focal points that draw the eye and give your work added depth.
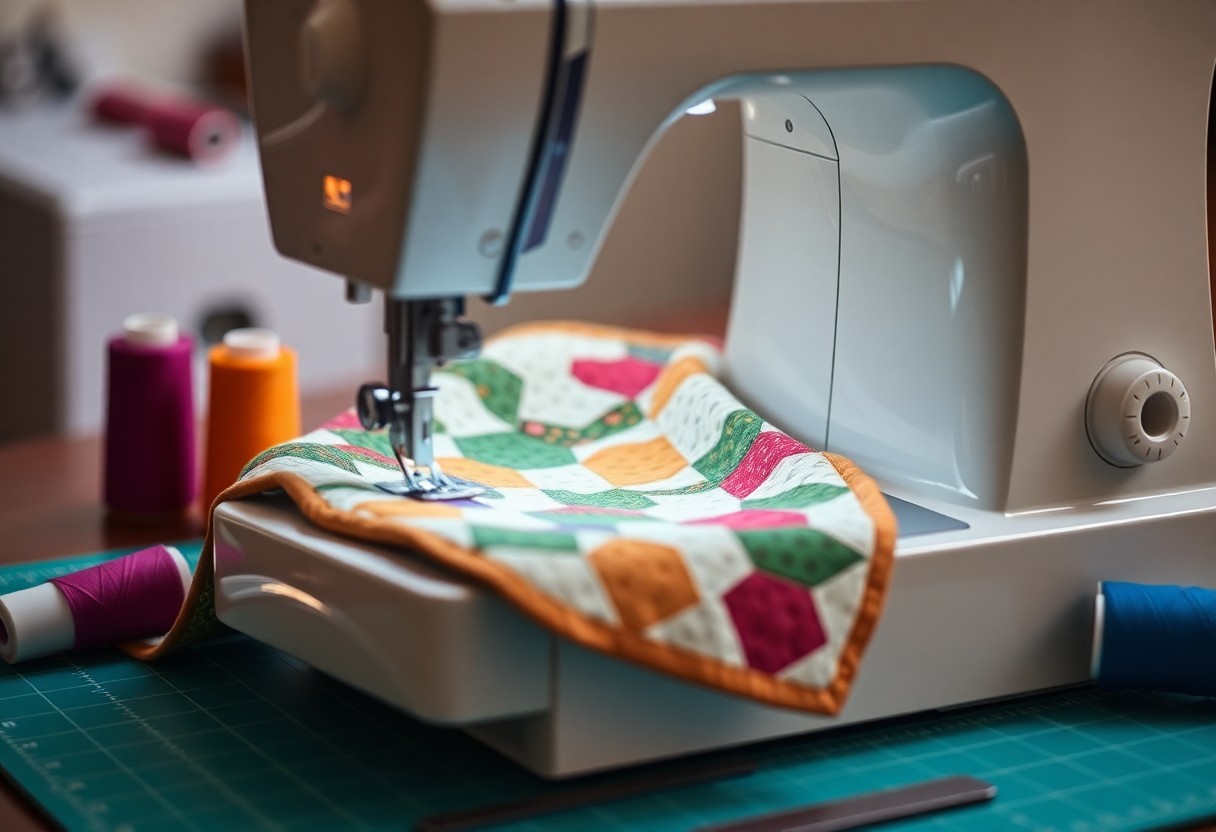
Combining Free Motion with Other Quilting Methods
Explore the synergy of free motion quilting with traditional methods like patchwork or appliqué. This combination allows you to incorporate diverse styles into your projects, enhancing overall design and texture. For instance, pair free motion stitching with straight-line quilting to create contrasting effects that amplify your quilt’s artistic appeal. Blending techniques encourages innovation, enabling you to craft unique designs that reflect your personal artistic journey.
An effective way to combine free motion quilting with other methods involves using free motion techniques alongside foundation piecing. This method enables you to focus on details while still maintaining structural integrity in your quilt. As you stitch, the intricate patterns of free motion quilting can be complemented by the clean lines of traditional piecing, creating a stunning juxtaposition. Integrating these styles not only expands your skillset but also enhances your creative expression within each project.
Final Words
Now that you have explored the complete tutorial on free motion quilting using a regular sewing machine, you’re equipped with the techniques and tips needed to successfully create stunning quilt designs. Your creativity can flourish as you practice these skills, allowing you to transform simple fabric into beautiful artwork. Embrace the process and enjoy the journey of quilting, knowing that each stitch brings you closer to perfecting your own unique style.
FAQ
Q: What equipment do I need for free motion quilting on a regular sewing machine?
A: You will need a sewing machine with a free motion or darning foot, quilting or cotton thread, a drop feed mechanism, and a quilting table or extension to provide adequate space. Additionally, fabric layers (backing, batting, and top fabric) of your quilt should be prepared and basted together for easier maneuverability.
Q: How can I control the speed while free motion quilting?
A: Speed control is managed mainly by the foot pedal of your sewing machine. Practice keeping a consistent foot pressure to maintain an even speed. Adjust the machine’s speed settings if available, and make small adjustments based on your comfort level while sewing.
Q: What are some tips for achieving a smooth stitch while free motion quilting?
A: To achieve a smooth stitch, practice on scrap fabric before starting your project. Maintain an even motion, and avoid stopping abruptly. Use a slow, steady pace and guide the fabric gently without forcing it. Proper tension adjustment of the machine is also important for consistent stitches.