
There’s a world of sewing possibilities waiting for you with your Singer 301, but mastering the threading process can be a bit daunting. By following a few necessary steps, you’ll ensure your machine is set up for success to create beautiful and precise stitches. Learning these techniques can not only save you time but also boost your confidence in handling this powerful tool. With patience and practice, you’ll conquer the threading conundrum and unleash your creativity without any hassles.
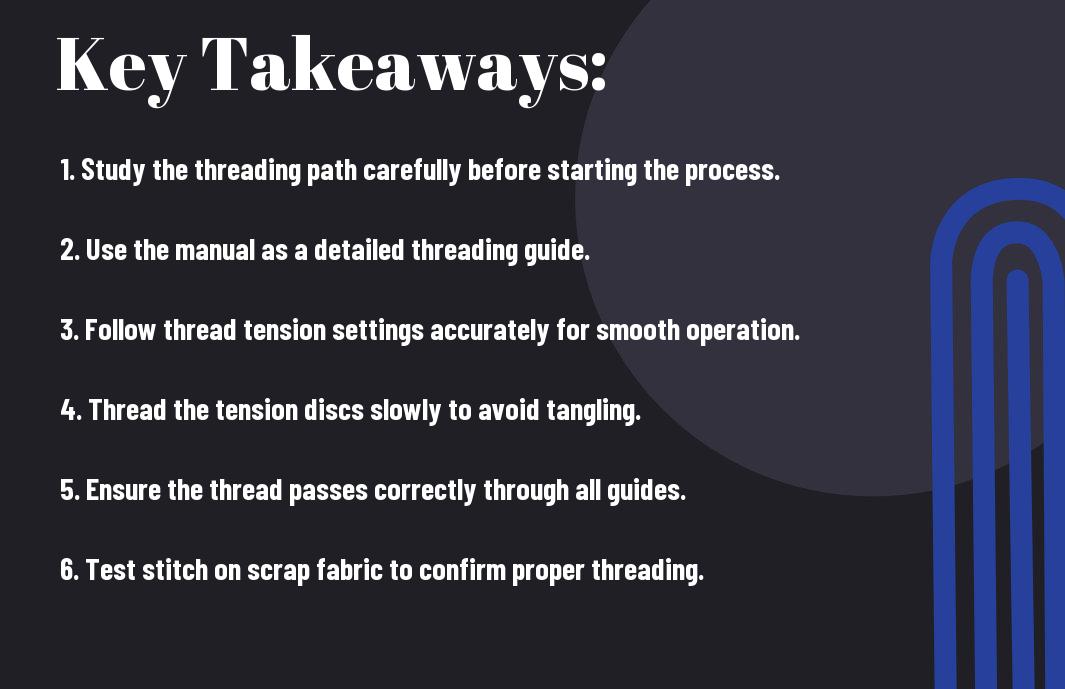
Key Takeaways:
- Familiarize yourself with the machine’s threading diagram, as it provides a visual guide that simplifies the threading process.
- Always thread the machine with the presser foot up; this allows the tension disks to open fully, ensuring a proper thread flow.
- Practice patience and take your time during the threading process, as rushing can lead to errors and frustration.
Decoding the Mechanics: Anatomy of the Singer 301
The Singer 301 is a robust sewing machine featuring a variety of components designed for both ease of use and versatility. Understanding its anatomy enables you to use the machine confidently, ensuring successful sewing projects. With specific parts that perform dedicated tasks, familiarizing yourself with these elements streamlines your threading experience and enhances your capability to troubleshoot any issues.
Key Features of the Singer 301
- Lightweight Design: Easy to transport, ideal for classes and workshops.
- Drop-in Bobbin: Simplifies the quilting process and reduces thread jams.
- Stretch Stitch Options: Perfect for sewing knit fabrics.
- Built-in Needle Threader: Saves time and frustration when setting up.
- Adjustable Stitch Length and Width: Offers customization for different projects.
The Singer 301’s unique blend of features enhances your sewing versatility.
Understanding the Threading Path
Mastering the threading path is integral to achieving smooth sewing with your Singer 301. This path guides your thread through particular elements of the machine, such as tension discs and the needle, ensuring consistent stitch quality. Reading the machine’s threading diagram will illuminate the specific route the thread should take, which is vital for preventing issues like skipped stitches or tangling. Consulting the manual may also provide valuable insights into the practical application of the threading path, allowing you to navigate this imperative step seamlessly. With practice, threading becomes a quick and easy task.
The Threading Blueprint: Step-by-Step Guidance
| Step | Description |
|---|---|
| 1 | Prepare your machine and workspace for a seamless threading experience. |
| 2 | Gather the necessary tools and materials, including the right type of thread. |
| 3 | Follow the step-by-step threading process as outlined in the manual. |
| 4 | Adjust the tension and perform a test stitch to ensure accuracy. |
Preparing Your Machine for Optimal Threading
Start by ensuring your Singer 301 is clean and free of any lint or debris. Remove the old thread and bobbin, then check that all components are in good condition. Position your machine on a stable surface with adequate lighting to enhance visibility during threading. Having your tools, including scissors and extra needles, readily accessible will allow for a more efficient setup.
Executing the Threading Process: A Practical Walkthrough
Begin threading by following the designated path that your machine manual outlines, starting with the spool pin and working down to the needle. Each step is designed to maximize tension and minimize snagging. Pay close attention to the tension discs, making sure the thread sits correctly within them. After completing the process, always perform a test stitch to ensure everything is functioning smoothly.
Expanding on the threading process, start by placing the spool of thread on the spool pin and pulling the thread through the first guide. Make sure it moves freely without any resistance. Next, guide the thread through the tension discs and be mindful to ensure it’s seated properly; this is key for consistent stitch quality. Follow the pathways as indicated on your machine, utilizing any threading aids if available, and finally, thread the needle from front to back. After threading, manually turn the handwheel to engage the needle and grab the bobbin thread, completing the setup for your sewing project.
Troubleshooting Common Pitfalls: What Goes Wrong?
Mastering the Singer 301 threading can sometimes feel like navigating a maze, where common pitfalls may obstruct your sewing journey. Often, tensions become misaligned, or the thread may skip entirely, creating frustration. Additionally, improper spool placement or incorrect threading methods can lead to snagged fabric and uneven stitches. Understanding these challenges is key, as addressing them right away can save time and improve your sewing experience.
Symptoms of Incorrect Threading
Your machine may exhibit several symptoms of incorrect threading, such as irregular stitches, breaking thread, or piles of fabric that refuse to feed smoothly. You might also notice that the thread bunches in the bobbin area or emerges on the material’s surface in unexpected loops. All these signs indicate that it’s time for a careful inspection of your threading process.
Quick Fixes to Common Threading Errors
Fortunately, resolving common threading errors can often be a simple matter of retracing your steps. Checking the threading path, ensuring proper tension settings, and verifying correct spool placement can significantly enhance your sewing success. Each of these adjustments can eliminate frustrating symptoms and restore your machine to its optimal performance.
For example, if you find that your thread is not sitting correctly on the spool, double-check that the spool is flipped in the right direction. Overlooked during initial setup, this simple shift can prevent awkward tension issues. Additionally, always ensure that the upper thread is securely seated in the tension discs. A quick thread re-insertion might be all it takes to address skipped stitches, so don’t hesitate to go back to the basics when things go awry.
Expert Insights: Tips from Seasoned Sewers
Learning from those who have successfully navigated the Singer 301 threading process can save you valuable time and frustration. Here are a few expert insights to enhance your sewing experience:
- Always use the correct type of thread for your project.
- Keep your machine clean and well-oiled.
- Double-check your threading order for accuracy.
- Practice on scrap fabric to perfect your skills.
Assume that you follow these tips closely, and you’ll find threading your machine becomes second nature.
Pro Techniques for Trouble-Free Threading
To achieve effortless threading, utilize a needle threader to streamline the process, ensuring a smooth experience. Consider using a contrasting thread on the spool and bobbin for training purposes, making errors easy to spot. This visual aid significantly helps in diagnosing any possible threading mistakes. Familiarize yourself with the tension settings, adjusting as needed to suit different fabrics, and always hold your thread tail when starting to prevent it from slipping back through the tension discs.
Essential Maintenance for Longevity and Performance
Regular maintenance is key to ensuring the longevity and performance of your Singer 301. Schedule routine cleaning, including dust removal from the feed dogs and shuttle area, to prevent clogs. Oiling critical moving parts keeps them functioning smoothly, reducing wear and tear on your machine.
Incorporating a rigorous cleaning and maintenance routine isn’t only about prolonging your machine’s life; it directly impacts the quality of your sewing projects. Set a reminder to clean your Singer 301 at least once a month, examining the bobbin area and the needle plate for lint buildup. Use a soft brush to remove debris and apply sewing machine oil to lubricate pivot points. This attention to detail ensures your machine remains in top condition, allowing you to enjoy sewing projects without interruption.
Elevating Your Skills: Beyond Basic Threading Techniques
Progressing from basic threading techniques enriches your sewing experience and enhances your overall project quality. It’s necessary to examine into advanced skills that expand your threading expertise. By familiarizing yourself with complex techniques, you can tackle a wider range of projects with confidence and precision. Mastering variations such as double needle threading or creating specialty stitches can transform your basic sewing into professional-level craftsmanship.
Advanced Threading Techniques for Complex Projects
To truly elevate your sewing game, consider these advanced threading techniques:
| Double Needle Threading | Allows two lines of stitching for decorative seams. |
| Threading for Knits | Utilizes a difference in tension for elastic fabrics. |
| Multiple Threads | Enables layered designs using several thread types. |
| Decorative Stitches | Creates intricate patterns, enhancing fabric appeal. |
| Embroidery Settings | Prepares the machine for various stitch options. |
Experimenting with Thread Types and Tensions
Diving into different thread types and tensions can result in dramatic improvements in your sewing projects. Understanding the nuances of various threads, such as polyester versus cotton, heightens your ability to select the right one for your fabric type and desired outcome. Adjusting tension is equally significant, as improper settings can lead to unwanted effects like puckering or uneven stitching.
- Thread Types vary in thickness and material, affecting the final look.
- Tension Settings must be frequently monitored to match thread specifications.
- Experimentation allows for creativity and discovering new techniques.
- Practice with swatches to find optimum combinations for your projects.
- Observation of results guides future thread choices and adjustments.
In-depth exploration of thread types encompasses understanding how each performs under different conditions. Testing variations can reveal the best combinations for diverse fabrics and stitching techniques, allowing for unique finishing touches on each project. Assessing tensions alongside thread choices is vital to achieving the ideal stitch quality. Adjustments ensure compatibility, ensuring consistent results that meet your sewing standards.
- Thread Compatibility enhances project results through strategic selection.
- Stitch Quality relies on achieving perfectly balanced tensions.
- Unique Textures can emerge from unconventional thread pairings.
- Consistent Results stem from testing and measuring techniques.
- Creative Samples help visualize the potential of new combinations.
Final Words
So, to master the Singer 301 threading conundrum, you should familiarize yourself with your machine’s manual, take note of threading order, and practice patience. Start by threading the machine step-by-step, ensuring each thread follows the correct path and tension. Don’t hesitate to consult online tutorials or community forums for additional tips and support. With consistent practice and attention to detail, you will gain confidence and proficiency in threading your Singer 301, allowing you to focus on your creative projects with ease.
Q: What is the first step to successfully thread the Singer 301 sewing machine?
A: The first step in mastering the threading process of the Singer 301 is to ensure that you have the correct thread and needle for your fabric type. Begin by placing your spool of thread on the spool pin correctly, and make sure the thread unwinds in a counterclockwise direction. It is important to check that your needle is suitably inserted, with the flat side facing the back of the machine. Following these initial preparations will set a solid foundation for a successful threading experience.
Q: How do I navigate the threading path of the Singer 301 to avoid common mistakes?
A: To navigate the threading path effectively, follow the numerical guide on the machine itself, which provides instructions for each step of the process. Begin by pulling the thread from the spool, and guide it through the thread guide at the top of the machine. Next, pass the thread down through the tension discs, then under the tension mechanism, and back up through the take-up lever before following the path down toward the needle. Pay close attention to each step, ensuring the thread is seated correctly in the tension discs and the take-up lever to prevent issues such as thread jams or inconsistent stitches.
Q: What should I do if I encounter issues with threading the Singer 301?
A: If you encounter issues while threading the Singer 301, troubleshoot by checking that the machine is in the correct position and that the presser foot is raised. A common problem arises when the presser foot is down, which can cause tension issues. Additionally, recheck each step of the threading process to ensure the thread is seated correctly and that there are no knots. If problems persist, consider re-threading the machine from the beginning or consulting the user manual for specific troubleshooting tips related to your situation.