Over the years, mastering your sewing machine can feel overwhelming, but with the right guidance, you can transform it into your best ally. This tutorial provides you with step-by-step instructions to ensure your machine is set up correctly and ready to use. You’ll learn how to thread your machine, properly insert the needle, and adjust the tension. Following these simple steps will not only enhance your sewing experience but also ensure your projects come out flawless.
Choosing the Right Sewing Machine
Finding the ideal sewing machine can significantly impact your sewing journey. With various brands, models, and features, you need to assess what’s best suited for your skills and projects. Whether you aim for simple repairs or elaborate creations, understanding the options available ensures you make a confident choice that aligns with your sewing aspirations.
Analyzing Your Sewing Needs
Before purchasing a sewing machine, pinpoint your specific sewing needs. Consider the types of projects you want to tackle—garments, home décor, or crafts. If you envision working with multiple fabrics, choose a machine that handles different thicknesses comfortably. Identifying your goals will streamline the selection process and help you invest efficiently.
Features to Consider for Beginners
Beginners should focus on machines that offer user-friendly features, such as automatic needle threading and one-step buttonhole capabilities. Look for adjustable stitch lengths and widths for versatility, as these options enable you to explore various techniques. A built-in stitch guide can also simplify your learning curve, allowing you to understand different stitches’ uses and applications.
As you assess features, prioritize machines that offer a reliable selection of built-in stitches, ideally between 15 to 30, allowing ample options without being overwhelming. A lightweight model fits well for portability, while a free arm option aids in sewing cuffs and sleeves effortlessly. Additionally, consider an intuitive interface with easy-to-read controls to accelerate your learning process. Investing in these features will bolster your confidence and encourage creativity as you initiate on your sewing journey.
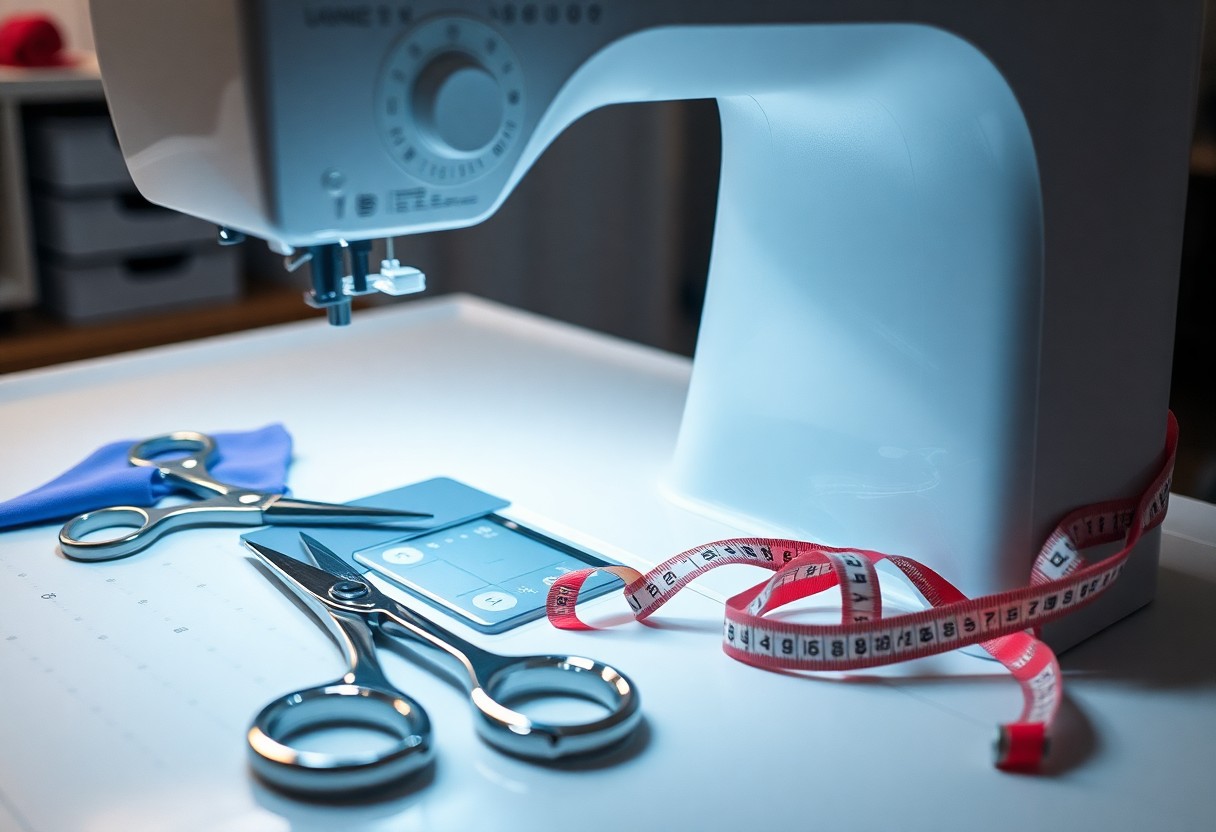
Essential Tools and Supplies for Setup
Equipping your workspace with the right tools and supplies enhances your sewing experience. Start with the imperatives like scissors, a seam ripper, measuring tape, and pins. A rotary cutter and mat are invaluable for precise cuts, while fabric weights can help stabilize materials. Consider investing in a sturdy storage solution to keep everything organized. Having a reliable iron on hand is also beneficial for finishing your projects, ensuring crisp seams and clean edges.
Must-Have Accessories Beyond the Machine
Accessories can elevate your sewing projects significantly. A walking foot is imperative for quilting and handling multiple layers, while a zipper foot makes attaching zippers a breeze. Specialty needles, such as those for knit or leather fabrics, offer better stitching results, and a stitch guide can help you maintain consistent seam allowances. Don’t overlook marking tools like fabric chalk or pens to help visualize your designs before cutting.
Fabric and Thread Selection Methodology
Selecting the right fabric and thread is fundamental to sewing success. Your fabric choice should align with the project type, ensuring you pick materials that complement the intended use, durability, and drape. For instance, cotton is ideal for quilts, while silk requires a more delicate approach. Thread weight should also correspond with your fabric; lightweight fabrics perform best with finer thread, while heavier materials need thicker thread for secure seams. Quality thread brands can enhance your stitches while reducing fraying.
Understanding fabric and thread compatibility starts with swatches or samples to assess texture and stretch. Always consider the weight of both elements; heavier fabric paired with lightweight thread can lead to weak seams that break easily. Choose polyester or cotton blends for universal projects, as they offer both strength and flexibility. Testing different combinations can guide you toward the ideal pair, ensuring that your final product not only looks great but also withstands wear and tear.
Step-by-Step Machine Setup Process
| Positioning Your Machine | Place your sewing machine on a sturdy, flat surface that’s at a comfortable height. Ensure that there’s enough space around for fabric movement and tools. |
| Connecting to Power | Locate the power cord, plug it into an outlet, and turn on the machine using the power switch. Make sure the foot pedal is connected properly. |
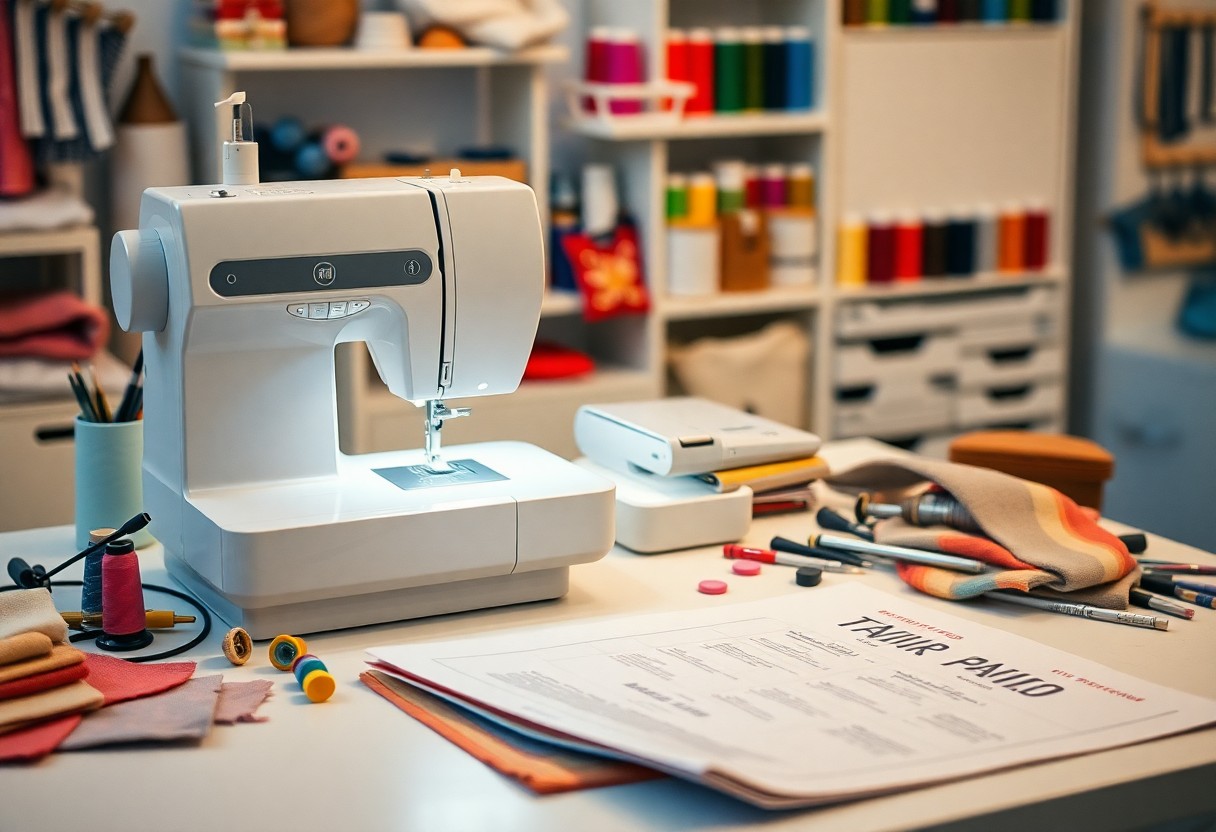
Positioning and Powering Your Sewing Machine
Find a clean, dedicated area for your sewing machine where you can work comfortably. A flat, sturdy table should suffice, allowing space for fabric and tools. Once positioned, plug in the power cord and switch your machine on; verify that the foot pedal is correctly attached for seamless operation.
Threading the Machine Like a Pro
Techniques for threading your machine vary by model, but most follow a simple path: from the spool, through the tension mechanism, and into the needle. Practice this process carefully, ensuring that each step aligns with your machine’s manual.
Start with a spool of thread on the spindle, ensuring it’s secured with a cap if needed. Follow your manual to guide the thread through the tension discs and into the take-up lever. When threading the needle, use the needle threader if available for added convenience. Pay attention to the direction and wind of the thread, as incorrect placement can lead to snags or breaks while sewing.
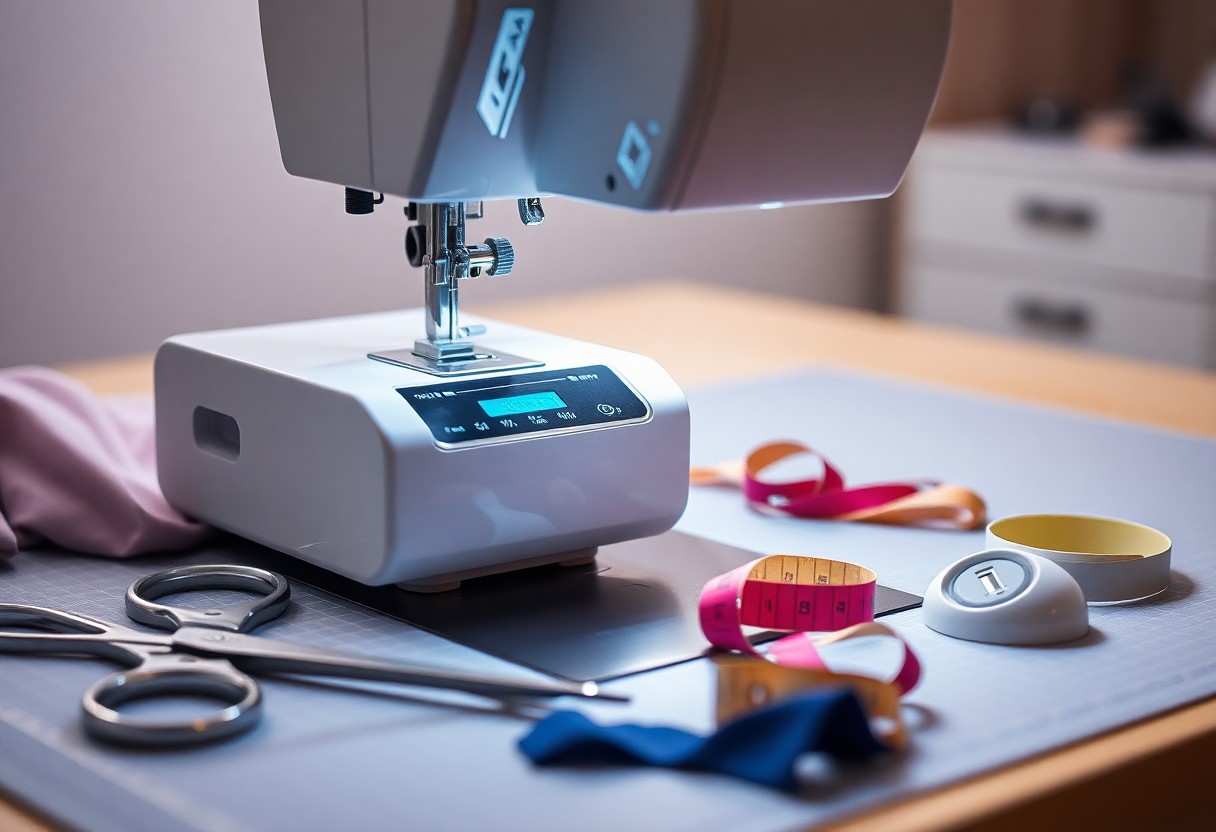
Adjusting Tension for Different Fabrics
Tension settings are crucial for achieving seamless stitches on various fabrics. Adjust the tension dial according to the thickness and type of fabric you are using, ensuring that the stitches are neither too loose nor too tight.
For lightweight fabrics, a lower tension setting will allow the fabric to move freely without puckering. On the other hand, thicker materials like denim require an increase in tension to create a balanced stitch. Experiment with each project by making test stitches on scraps, adjusting the tension gradually until reaching optimal results. Effective tension adjustment can greatly improve overall stitch quality and appearance.
Troubleshooting Common Setup Errors
Encountering setup errors is a common experience for new sewers. By familiarizing yourself with these issues, your sewing sessions can be more enjoyable and productive. Quick fixes can save you time and frustration, ensuring you get the most out of your machine. Understanding how to troubleshoot effectively will enhance your confidence as you sew.
Identifying and Fixing Threading Issues
Threading issues often lead to tangled threads or skipped stitches. Check your sewing machine manual for the correct threading sequence and pay close attention to the tension settings. A common mistake is not threading the machine through the tension discs properly, which can result in inconsistent stitches. If your machine uses a bobbin, ensure it’s threaded correctly and inserted securely into the casing.
Addressing Stitching Problems Quickly
Stitching problems can manifest as uneven tension, thread bunching, or skipped stitches. These issues usually stem from improper threading, dull needles, or incorrect stitch settings. Adjusting the tension dial and replacing the needle with a fresh one tailored for your fabric can often resolve these concerns swiftly. Don’t hesitate to test your settings on scrap fabric to achieve the perfect stitch.
When addressing stitching problems, inspect the type of needle you are using; different fabrics require specific needles, such as universal for cotton or ballpoint for knits. If you’re experiencing skipped stitches, ensure that the needle is correctly installed and that it hasn’t become bent or damaged. The stitch length and width settings also play a role; for instance, a longer stitch length might be needed for heavier fabrics. Always have several needle types on hand and experiment to find the best match for your specific project, ensuring a smooth sewing experience.
Maintenance and Care for Longevity
Proper maintenance is key to extending the lifespan of your sewing machine, ensuring optimal performance with each use. Regular cleaning and lubrication, along with proper storage, not only keeps your machine running smoothly but also enhances the quality of your stitches. Adopting a few simple habits can prevent costly repairs and ensure your investment continues to serve you well through various projects.
Regular Upkeep Practices for a Smooth Sew
Incorporate a routine for cleaning your sewing machine after each project. This includes removing lint from the feed dogs and bobbin area, oiling the machine per the manufacturer’s instructions, and checking the needle for signs of wear. Changing your needle regularly, ideally after every 8 hours of sewing, contributes significantly to the machine’s performance and the quality of your stitches.
When to Seek Professional Help
Know the signs that indicate it’s time for professional servicing, such as unusual noises during operation, persistent thread nesting, or if your machine won’t sew despite following troubleshooting steps. Addressing these issues early on can save you time and ensure that minor problems do not evolve into significant repairs.
If you notice a grinding sound or your machine begins skipping stitches despite regular maintenance, it’s time for a professional inspection. A qualified technician can diagnose and fix internal issues, such as misalignment or worn gears, that you might not be able to easily resolve. Regular service intervals, approximately once a year, can also help in maintaining optimal functionality, preventing future issues before they become significant setbacks.
Final Words
From above, you can see that setting up your sewing machine doesn’t have to be daunting. By following this step-by-step tutorial, you have gained the confidence to get your machine ready for sewing. With your machine properly threaded and configured, you are now prepared to create beautiful projects and develop your skills as a new sewer. Embrace the journey ahead, knowing that each stitch brings you closer to mastering your craft.
FAQ
Q: How do I set up my sewing machine for the first time?
A: Start by finding a clean, stable workspace. Unpack your sewing machine and refer to the manual for specific assembly instructions. Attach the sewing machine foot and spool holder. Place the needle in the machine and ensure it is securely inserted. Lastly, thread the machine according to the diagram usually labeled on the machine itself.
Q: What tools do I need for a basic sewing machine setup?
A: Essential tools include scissors, a seam ripper, measuring tape, fabric marking tools, and a screwdriver for securing the needle and presser foot. It’s also helpful to have spare needles and bobbins on hand for your sewing projects.
Q: How can I troubleshoot if my sewing machine is not working properly after setup?
A: First, check if the machine is plugged in and the power is on. Ensure the needle is installed correctly and not damaged. Inspect the thread tension and re-thread the machine if necessary. If the machine skips stitches, the needle might be dull or incorrectly chosen for the fabric type. Consult the manual for additional troubleshooting tips related to your specific model.