
Threading can often be a frustrating challenge for sewing enthusiasts using the Singer 301, but fear not! In this post, you’ll gain a comprehensive understanding of the specific issues that can arise and discover effective solutions tailored to your machine. By clarifying the correct threading path and the impact of misalignment, you can ensure your sewing experience is smooth and enjoyable. With these insights, you will enhance your sewing skills and make the most of your Singer 301, allowing you to tackle any project with confidence.
Key Takeaways:
- The Singer 301 is a versatile sewing machine that is particularly well-suited for handling various threading issues, making it an excellent choice for both beginners and experienced sewists.
- Understanding the threading mechanism of the Singer 301 can significantly enhance sewing efficiency, reduce frustrations, and improve overall project outcomes.
- Regular maintenance and proper threading techniques can help prevent common problems, ensuring that the Singer 301 operates smoothly and effectively over time.
Demystifying the Threading Pathway
Understanding the threading pathway of your Singer 301 enhances your ability to troubleshoot and prevent threading problems. Each component, from the spool holder to the needle, has a specific function in guiding the thread, ensuring smooth sewing performance.
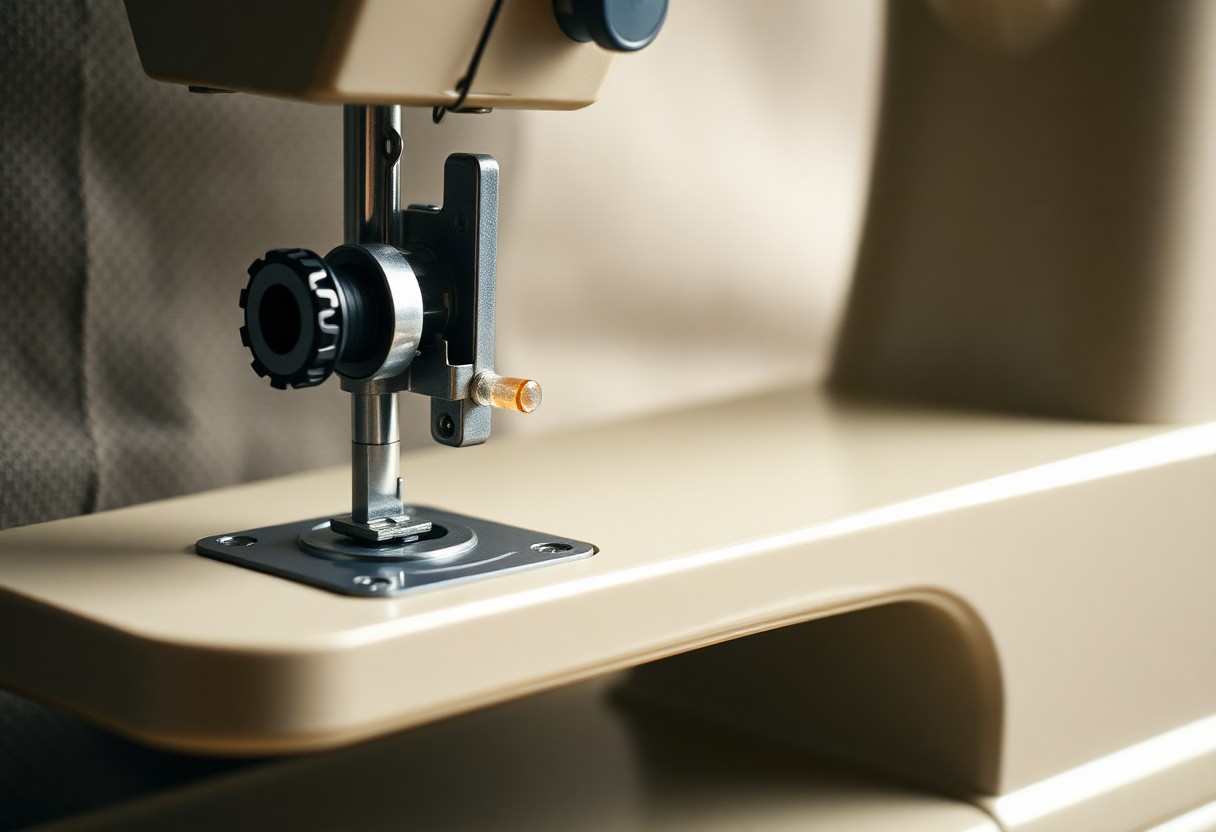
Anatomy of the Threading Mechanism
The threading mechanism on the Singer 301 includes several key parts: the tension discs, guide arms, and the needle itself. Proper alignment of these components is necessary for making sure the thread flows smoothly without snagging or tangling, leading to consistent stitch formation.
Common Threading Issues: Symptoms and Solutions
Threading problems can lead to a range of symptoms, such as skipped stitches, thread breaking, and uneven tension. Each of these issues can often be traced back to improper threading or misalignment of the components involved in the threading pathway.
Identifying and resolving threading issues on your Singer 301 can significantly improve your sewing experience. For instance, if you notice skipped stitches, check if the thread is properly seated in the tension discs. A broke thread may indicate that the thread is not correctly threaded through the needle or has become tangled. Uneven tension can often be resolved by adjusting the tension settings on the machine and confirming that the thread follows the defined pathway accurately. By addressing these common issues promptly, you can avoid more serious sewing complications later on.
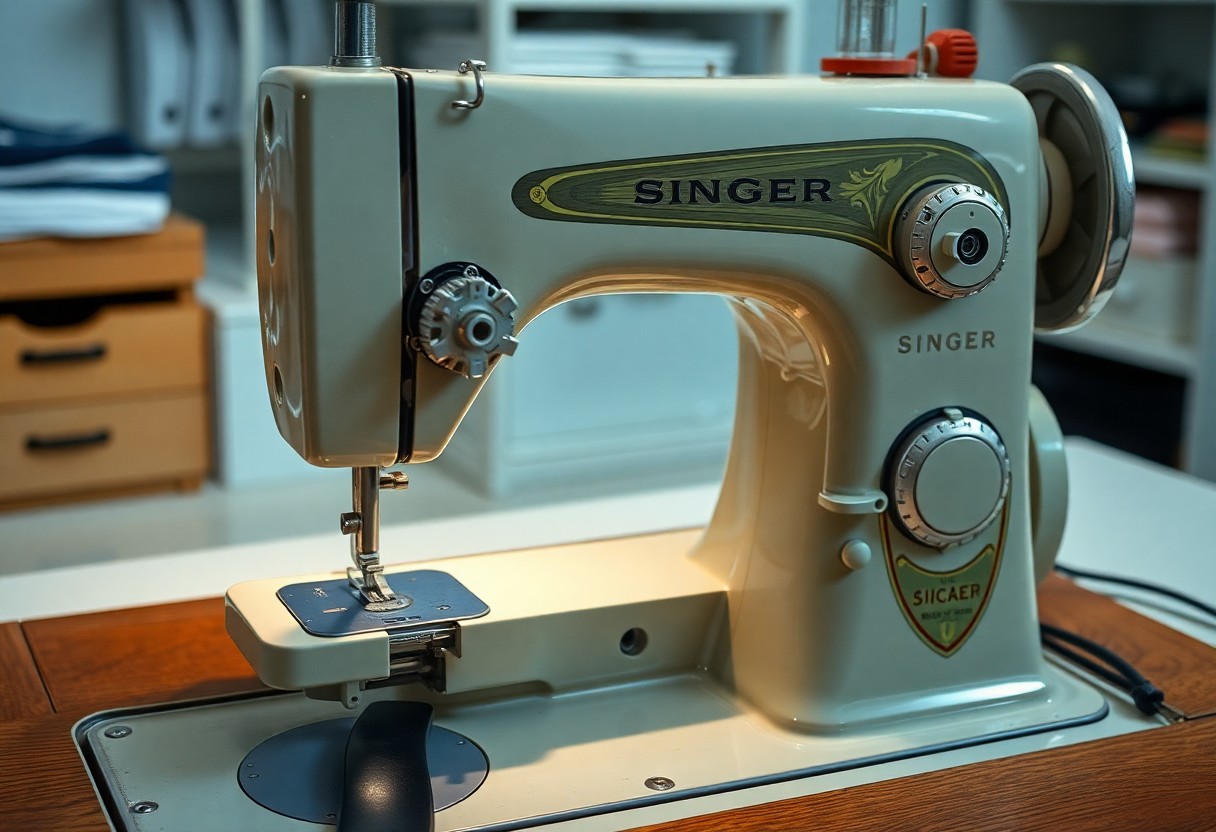
The Singer 301’s Unique Features
The Singer 301 stands out in the sewing community thanks to its innovative design and thoughtful features. One of its most notable attributes is its versatility, allowing you to switch effortlessly between various stitching techniques. The sleek, lightweight construction enhances portability, making it an excellent companion for both home and on-the-go projects. Additionally, it boasts an impressive stitch quality, ensuring your creations look professional every time.
How the Built-in Support System Prevents Thread Breakage
This sewing machine features a built-in support system designed specifically to prevent thread breakage. By strategically guiding the thread through the tension mechanism and providing steady support, the Singer 301 ensures optimal thread flow and reduces the chances of tangles or snags. This thoughtful engineering minimizes frustration during your sewing sessions, allowing you to focus on your creative process.
Benefits of the Drop-in Bobbin for Seamless Stitching
The drop-in bobbin system of the Singer 301 enhances your sewing experience by simplifying the process of threading and maintenance. With the transparent cover, you can easily monitor the thread supply, enabling you to avoid interruptions. This user-friendly design ensures seamless stitching without the hassle of complicated setups, ultimately letting you concentrate on your project.
With the drop-in bobbin, changing threads becomes a swift task, allowing for more efficiency and less downtime. When you notice the bobbin is running low, the clear casing provides instant visibility, preventing unexpected halts in your workflow. This feature is especially beneficial for extended sewing sessions, where maintaining momentum is vital for your creative output. The drop-in system not only supports your sewing rhythm but also instills confidence in your overall stitching experience.
Navigating Tension Troubles
Tension issues can significantly affect your sewing results, leading to uneven stitches or fabric puckering. Your Singer 301’s tension can fluctuate for various reasons, including thread type, fabric choice, or machine setup. Adjusting tension correctly is vital for achieving the flawless stitches you desire, and understanding how to navigate these problems can save you time during your projects.
Understanding Tension Settings and Their Impact
The Singer 301 features a tension disc that allows you to customize your sewing experience. Each setting on the tension dial—ranging from 0 to 9—determines how tightly the thread is pulled through the machine. If your stitches are too loose or too tight, this can lead to snags or imbalanced seams. Fine-tuning the tension is necessary for pairing the right thread and fabric combinations in your sewing endeavors.
Practical Tips for Achieving Optimal Thread Tension
Achieving perfect thread tension requires careful adjustments and some trial and error. Always test your settings on a scrap piece of fabric similar to your project before sewing. If encountering issues, examine your thread path, clean your machine, and verify the needle is compatible with your chosen fabric and thread. Stringing all these elements together can lead to beautifully finished seams. This will ensure that your thread tension is not only even but enhances the overall look of your project.
- Test settings on a scrap piece for optimal thread tension.
- Check the thread path regularly, ensuring smooth passage for consistent stitches.
- Clean your machine to prevent buildup that affects tension consistency.
- Verify the needle’s compatibility for improved sewing performance.
In practice, remember to adjust your tension as you switch fabrics or threads. Different materials can require unique tension settings for proper stitching. For example, heavier fabrics often need higher tension to prevent puckering, while lighter fabrics may require less tension to avoid tearing. Paying attention to these details can make all the difference. This will leave you with high-quality results that showcase your skill and craftsmanship.
- Adjust tension when changing fabric types for optimal results.
- Observe stitch quality regularly to assess tension effectiveness.
- Keep a tension log for reference to track adjustments over time.
- Don’t hesitate to consult your manual for specific tension settings.
Real-Time Troubleshooting Techniques
Encountering threading problems can disrupt your sewing workflow, but applying real-time troubleshooting techniques can quickly get you back on track. These strategies allow you to efficiently identify and rectify the issues at hand, transforming a frustrating situation into a manageable one.
Step-by-Step Guide to Diagnose Threading Problems
| Step | Instruction |
|---|---|
| 1 | Check your thread tension settings – ensure they’re not too tight or too loose. |
| 2 | Inspect the thread path for tangles or obstructions. |
| 3 | Verify the needle is inserted correctly and is the appropriate type for your fabric. |
| 4 | Examine the bobbin – it should be wound evenly and inserted properly. |
| 5 | Run a test stitch on scrap fabric and observe any irregularities. |
Essential Tools for Quick Fixes
Having the right tools at your disposal dramatically simplifies troubleshooting threading issues. A few imperative items can help you swiftly address common problems and save precious crafting time.
Equipping yourself with a few basic tools, like a seam ripper, extra needles, and thread snips, can make a world of difference during a sewing session. A seam ripper allows you to easily eliminate any mistakes the moment they happen, while having extra needles of various sizes ensures you’re always prepared for different fabric types. Thread snips provide a quick, efficient way to clean up any loose threads or entangled areas. Together, these tools equip you to handle threading issues swiftly and effectively, allowing you to maintain a smooth sewing experience.
Expert Tips from Seasoned Sewists
Tap into the wisdom of experienced sewists who have mastered the Singer 301’s threading challenges. These experts have shared their insights to help you achieve seamless sewing sessions. Make sure to:
- Keep your needle and thread compatible.
- Double-check the presser foot position before starting.
- Use quality thread to avoid tangles.
- Wind your bobbin tightly for consistent performance.
- Practice threading in a well-lit area to see details clearly.
Perceiving these best practices will significantly enhance your sewing experience and efficiency.
Tricks for Threading Success Every Time
Achieving consistent threading success with your Singer 301 requires some tricks. Start by ensuring that your machine is turned off while you thread it to prevent accidental starts. Following the threading diagrams on the machine itself provides clarity on the pathway. To make the process smoother, use a bright light to illuminate the threading areas and consider pre-cutting your thread at an angle for easier insertion. These simple actions can transform your sewing routine into a hassle-free experience.
Avoiding Pitfalls: What Not to Do
Avoiding common pitfalls can save you from frustrating sessions with your Singer 301. Forgoing basic steps like not lifting the presser foot before threading can cause threading problems that appear to be more complex than they are. Many sewists also overlook the importance of regularly cleaning the tension discs, which can collect lint and impede proper thread flow. Not paying attention to the orientation of the spool can lead to unnecessary tangling as well.
Staying mindful of these pitfalls is key to a smooth sewing process. To illustrate, failing to lift the presser foot while threading can lead to improper tension, resulting in loops and skipped stitches. Additionally, neglecting to keep the machine clean can compound problems over time. Tension adjustments may become necessary more often if lint buildup occurs, leading to further complications and frustrations. Addressing these issues proactively can help maintain a more efficient and enjoyable sewing experience.
To wrap up
From above, you now understand how the Singer 301 can serve as your go-to resource for addressing threading problems. With its reliable construction and user-friendly features, you can confidently tackle any threading issues that may arise. By following the guidance provided, you can ensure your sewing experience is smooth and efficient, allowing you to focus on your creative projects. Embrace the capabilities of your Singer 301, and watch as it enhances your sewing journey.
Q: What types of threading problems can the Singer 301 address?
A: The Singer 301 is designed to tackle a variety of threading problems that users may encounter. Common issues include improper thread tension, thread breakage, and thread jams. The machine’s versatility allows it to handle different types of fabrics, ensuring a smooth sewing experience. With its easy-to-follow threading guides and adjustable tension settings, users can resolve most common threading problems efficiently.
Q: How do I properly thread the Singer 301 to avoid common threading issues?
A: To thread the Singer 301 correctly, start by raising the presser foot to release the tension discs. Begin threading the upper thread through the thread guide, then down through the tension discs and into the needle. Ensure that the thread is seated properly in all mechanisms. Lastly, thread the bobbin following the machine’s guidelines, making sure it is inserted correctly in the bobbin case. Following these steps closely helps minimize issues like skipped stitches or thread breakage.
Q: What are some troubleshooting tips for resolving threading issues on the Singer 301?
A: If you encounter threading issues with the Singer 301, consider the following troubleshooting tips: First, check the upper thread path for any tangles or incorrect placements, as this can cause uneven tension or breakage. Next, inspect the needle to ensure it is not dull or incorrectly inserted, as this can affect stitching quality. Finally, adjust the thread tension settings according to the fabric you are using; different materials may require slight adjustments to the tension for optimal results.