
Just getting started with your Singer 301? This guide is designed to help you confidently navigate the threading process from start to finish. You’ll learn exactly how to avoid common pitfalls that can lead to frustration or damaging your machine. With clear, step-by-step instructions tailored for your needs, you can ensure that your sewing experience is smooth and enjoyable. Get ready to master the basics and elevate your sewing skills with this comprehensive guide!
Key Takeaways:
- Understand the components of your Singer 301 sewing machine to effectively navigate the threading process.
- Follow the step-by-step instructions carefully to ensure that the thread paths are correctly established for optimal stitching.
- Practice threading the machine multiple times to build confidence and proficiency in using your Singer 301.
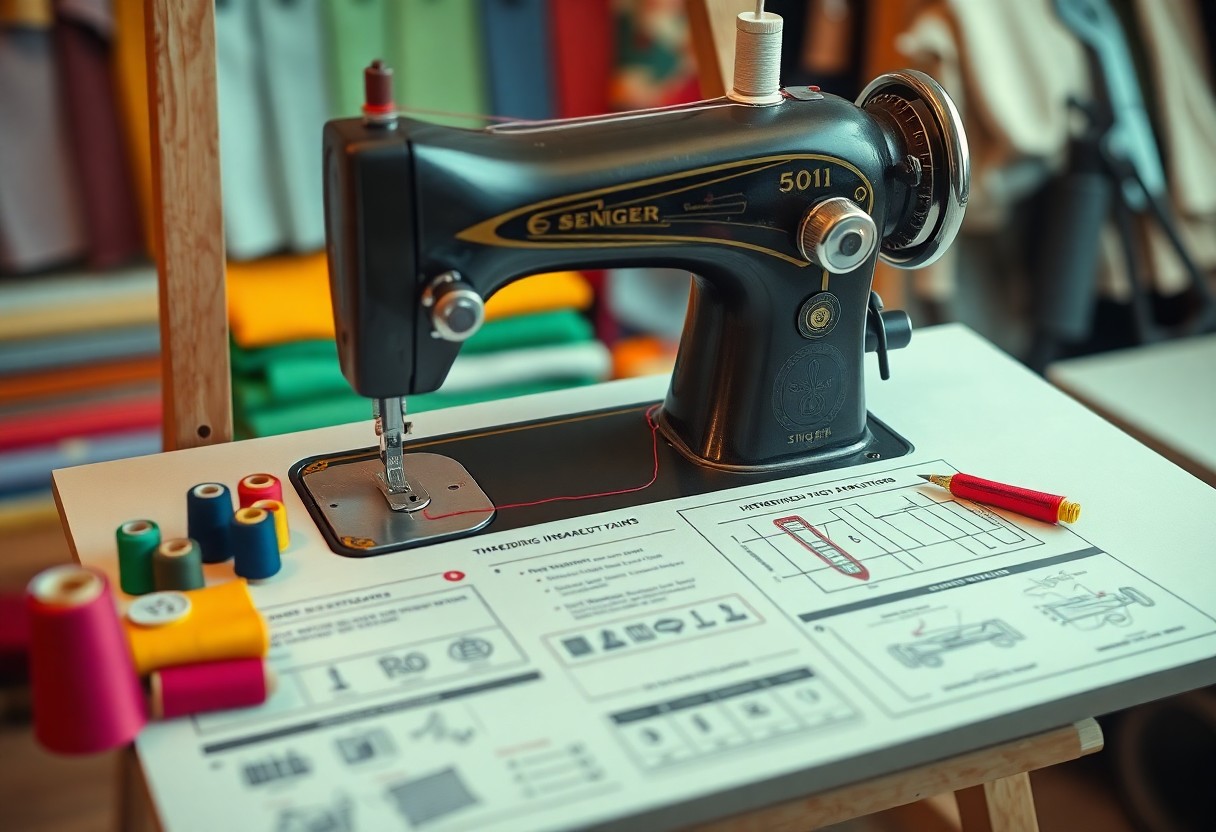
The Anatomy of Your Singer 301: Know Your Machine
Familiarizing yourself with the Singer 301’s anatomy can significantly enhance your sewing efficiency. This classic machine boasts a durable metal body and features crucial components such as the spool pin, tension dial, and needle mechanism. Recognizing these parts enables you to operate your machine with confidence and ease, ensuring each project runs smoothly.
Identifying Key Components
Locate the key components of your Singer 301 to ensure seamless operation. The spool pin holds the thread spool, while the tension dial regulates thread tightness for consistent stitching. The presser foot lever controls the presser foot’s position, and the feed dogs help in moving the fabric through the machine. Knowing these elements is crucial for troubleshooting and effective sewing.
Understanding the Threading Path
The threading path on your Singer 301 may seem intricate at first, but mastering it is key to achieving perfect stitches. Begin by finding the designated thread guides and take notice of the order in which the thread travels through the machine. This path typically starts at the spool pin, runs through various tension discs, and ends at the needle itself. Each guide serves a purpose, either to create necessary tension or to help position the thread correctly for a flawless stitch.

Choosing the Right Thread: Material Matters
Selecting the right thread for your Singer 301 can significantly affect the quality of your sewing projects. Different thread materials offer unique benefits, which can enhance your finished product’s strength, appearance, and usability. Prioritizing the right thread material not only ensures a flawless seam but also aligns with the fabric type and project requirements you’re tackling.
The Benefits of Cotton vs. Polyester
Cotton threads, known for their natural fiber construction, offer a matte finish and are less likely to fray, making them ideal for quilting and lightweight fabrics. In contrast, polyester threads boast superior strength, elasticity, and resistance to fading, rendering them perfect for sewing knits and activewear. Understanding these differences helps you select the best option for your specific sewing needs.
Weight and Thickness Considerations
The weight and thickness of thread significantly impact your sewing experience. Typically, thread weight is measured using the cotton equivalent system; for example, a 40 weight thread is commonly used for sewing while a 30 weight is preferred for quilting. Choosing the right weight depends on the fabric type and desired finish. Lighter threads work well with delicate fabrics, while heavier threads offer strength and durability for thicker materials.
A general rule of thumb is to match the thread weight to your fabric; for lighter cottons, you might select a finer thread like 50 or 60 weight. For stiffer fabrics or projects such as upholstery, opting for heavier threads like 30 or 40 weight not only enhances strength but also improves the overall aesthetics of your seam. Ensuring a good match between thread weight and fabric will ultimately lead to smoother sewing and a better finish.
Step-by-Step Threading Instructions: Simplifying the Process
By breaking down the threading process into clear steps, you can easily avoid common pitfalls. Each part of the machine has a specific role, so follow this structured approach to keep things straightforward and efficient. This guide will keep you organized and focused, making the operation of your Singer 301 a breeze.
| Task | Action |
|---|---|
| Winding the Bobbin | Use the bobbin winder to fill the bobbin evenly. |
| Threading the Upper Portion | Guide the thread through the tension discs and path correctly. |
| Threading the Needle | Navigate the thread through the needle eye from front to back. |
Winding the Bobbin Like a Pro
Start by placing your thread spool on the spindle and directing the thread around the guide. As it’s wound, engage the bobbin winder by pushing it to the right. Ensure the thread fills evenly, avoiding any overlaps. Once full, cut the thread and push the winder back to its original position.
Threading the Upper Portion Without Frustration
Getting the upper threading perfect is key to smooth operation. Begin by placing the spool on the spindle and following the designated threading path indicated on your machine. Pull the thread through the tension mechanism, making sure it properly locks into place. Finish by threading it through the take-up lever before leading it down to the needle. This process requires gentle manipulation to avoid knots and ensure flow.
Threading the upper portion can significantly impact your sewing experience. As you guide the thread through the tension mechanism, lightly tug it to ensure it catches, preventing slippage and misalignment. Pay attention to the illustrated path on your machine, as it’s designed for optimal performance. If you find yourself unraveling the thread or experiencing tension issues, double-check that the thread is seated correctly within the tension discs. The goal is a smooth, uninterrupted path that allows the needle to do its work effectively, helping you achieve professional-looking stitches with less frustration.
Troubleshooting Common Threading Errors: Avoiding Pitfalls
Encountering threading errors can be frustrating, but most issues can be resolved with a few key adjustments. By being aware of common pitfalls, such as improper threading or incorrect tension settings, you can prevent problems before they arise. Regular check-ins during your sewing process help ensure everything runs smoothly, enabling you to focus on crafting rather than troubleshooting. With a methodical approach, you’ll develop a keen eye for spotting potential threading problems and will be well on your way to sewing success.
Recognizing Tension Issues and Fixing Them
Tension issues typically manifest as uneven stitches or puckering fabric. If your thread is either too tight or too loose, it can cause complications that might hinder your sewing flow. Start by adjusting the tension dial in small increments, testing your stitch afterward by sewing a scrap piece of fabric. Achieving that perfect balance of tension is key to locking your stitches securely without compromising fabric integrity.
Addressing Jamming and Skipping Stitches
Jamming and skipping stitches are common frustrations that stem from a few main culprits. First, ensure that your thread is correctly threaded and that the bobbin is wound evenly and placed properly. Debris or fabric caught in the feed dogs can also lead to interruptions, so a thorough cleaning of your machine can help. Lastly, using the right needle for your fabric type and thickness will dramatically reduce the chance of experiencing skipped stitches.
When addressing jamming and skipping stitches, inspect your machine’s needle for any signs of wear. A damaged or dull needle can cause inconsistent stitching and lead to frequent jams. Additionally, ensure you’re using the correct needle size and type for your fabric; a heavy needle on lightweight fabrics can result in skipped stitches or threading issues. Regular maintenance, such as oiling your machine and cleaning out lint build-up, will help keep everything running smoothly, allowing for seamless sewing experiences.
Maintaining Your Threading Skills: Best Practices for Longevity
Consistent practice is necessary for keeping your threading skills sharp over time. Engaging in regular sewing projects, whether small or large, ensures you remain familiar with the threading process. Additionally, taking notes during your sessions can help you identify what works best for you, making future threading easier and quicker. Don’t shy away from trying new techniques or threading variations; these experiences will broaden your understanding and proficiency.
Regular Maintenance Routines
Establishing a maintenance routine for your Singer 301 can greatly enhance its longevity and performance. Regularly check and clean the threading paths, ensuring no dust or lint build-up obstructs your progress. Consider the use of natural oils to lubricate moving parts, which keeps the machine running smoothly and prevents wear and tear on the threading components. Adopting these practices will create a more pleasant sewing experience and lower the chances of threading mishaps.
Resources and Tools for Continued Learning
Expanding your sewing knowledge includes tapping into the many resources available. Online platforms like YouTube offer countless tutorial videos specifically for Singer 301 threading techniques. Joining sewing communities on social media or forums can help connect you with other enthusiasts who share tips and tricks. Books dedicated to sewing and specifically to the Singer 301 model can serve as invaluable references for honing your skills and learning new methods.
Utilizing tools like threading aids, magnifying lamps, and organizational supplies can enhance both your threading capabilities and overall sewing experience. Consider investing in a thread guide that simplifies the process or using a sewing journal to document your successes and challenges. With a wealth of resources available online and within the sewing community, you can continually learn and improve your threading skills while gaining confidence in your abilities.
Conclusion
Upon reflecting, mastering the basics of threading your Singer 301 is important for your sewing success. By following the step-by-step guide provided, you have equipped yourself with the knowledge needed to confidently navigate your machine. As you practice these techniques, you’ll find that your sewing experience becomes smoother and more enjoyable. Embrace this foundational skill, and you’ll be well on your way to tackling more complex projects with ease and precision.
FAQ
Q: What materials do I need to successfully thread my Singer 301?
A: To thread your Singer 301, you’ll primarily need a spool of thread, which should be suitable for your sewing project. Additionally, a pair of scissors can help you trim the thread as needed. It might also be helpful to use a needle that is compatible with your thread type. Finally, ensure you have the sewing machine manual nearby for any specific instructions or diagrams that can assist you throughout the process.
Q: How can I troubleshoot if my thread keeps breaking while using the Singer 301?
A: If you notice that your thread is breaking frequently, first check the tension settings on your machine; they might need adjustment. Additionally, ensure that the thread is properly threaded through all the guides and that it is inserted correctly in the needle. Inspect the needle to ensure it isn’t damaged or dull, as this can negatively affect stitching. Using appropriate thread for your fabric type also helps reduce breakage, so make sure you’ve matched them correctly.
Q: Is there a specific order for threading the Singer 301, and why is it important?
A: Yes, there is a specific order for threading the Singer 301, which typically starts with placing the spool on the spool pin, running the thread through the tension discs, and then through the take-up lever before feeding it through the needle. This order is important because each step prepares the thread to be properly tensioned and guided, ensuring smooth stitching and preventing issues like tangling or uneven tensions.